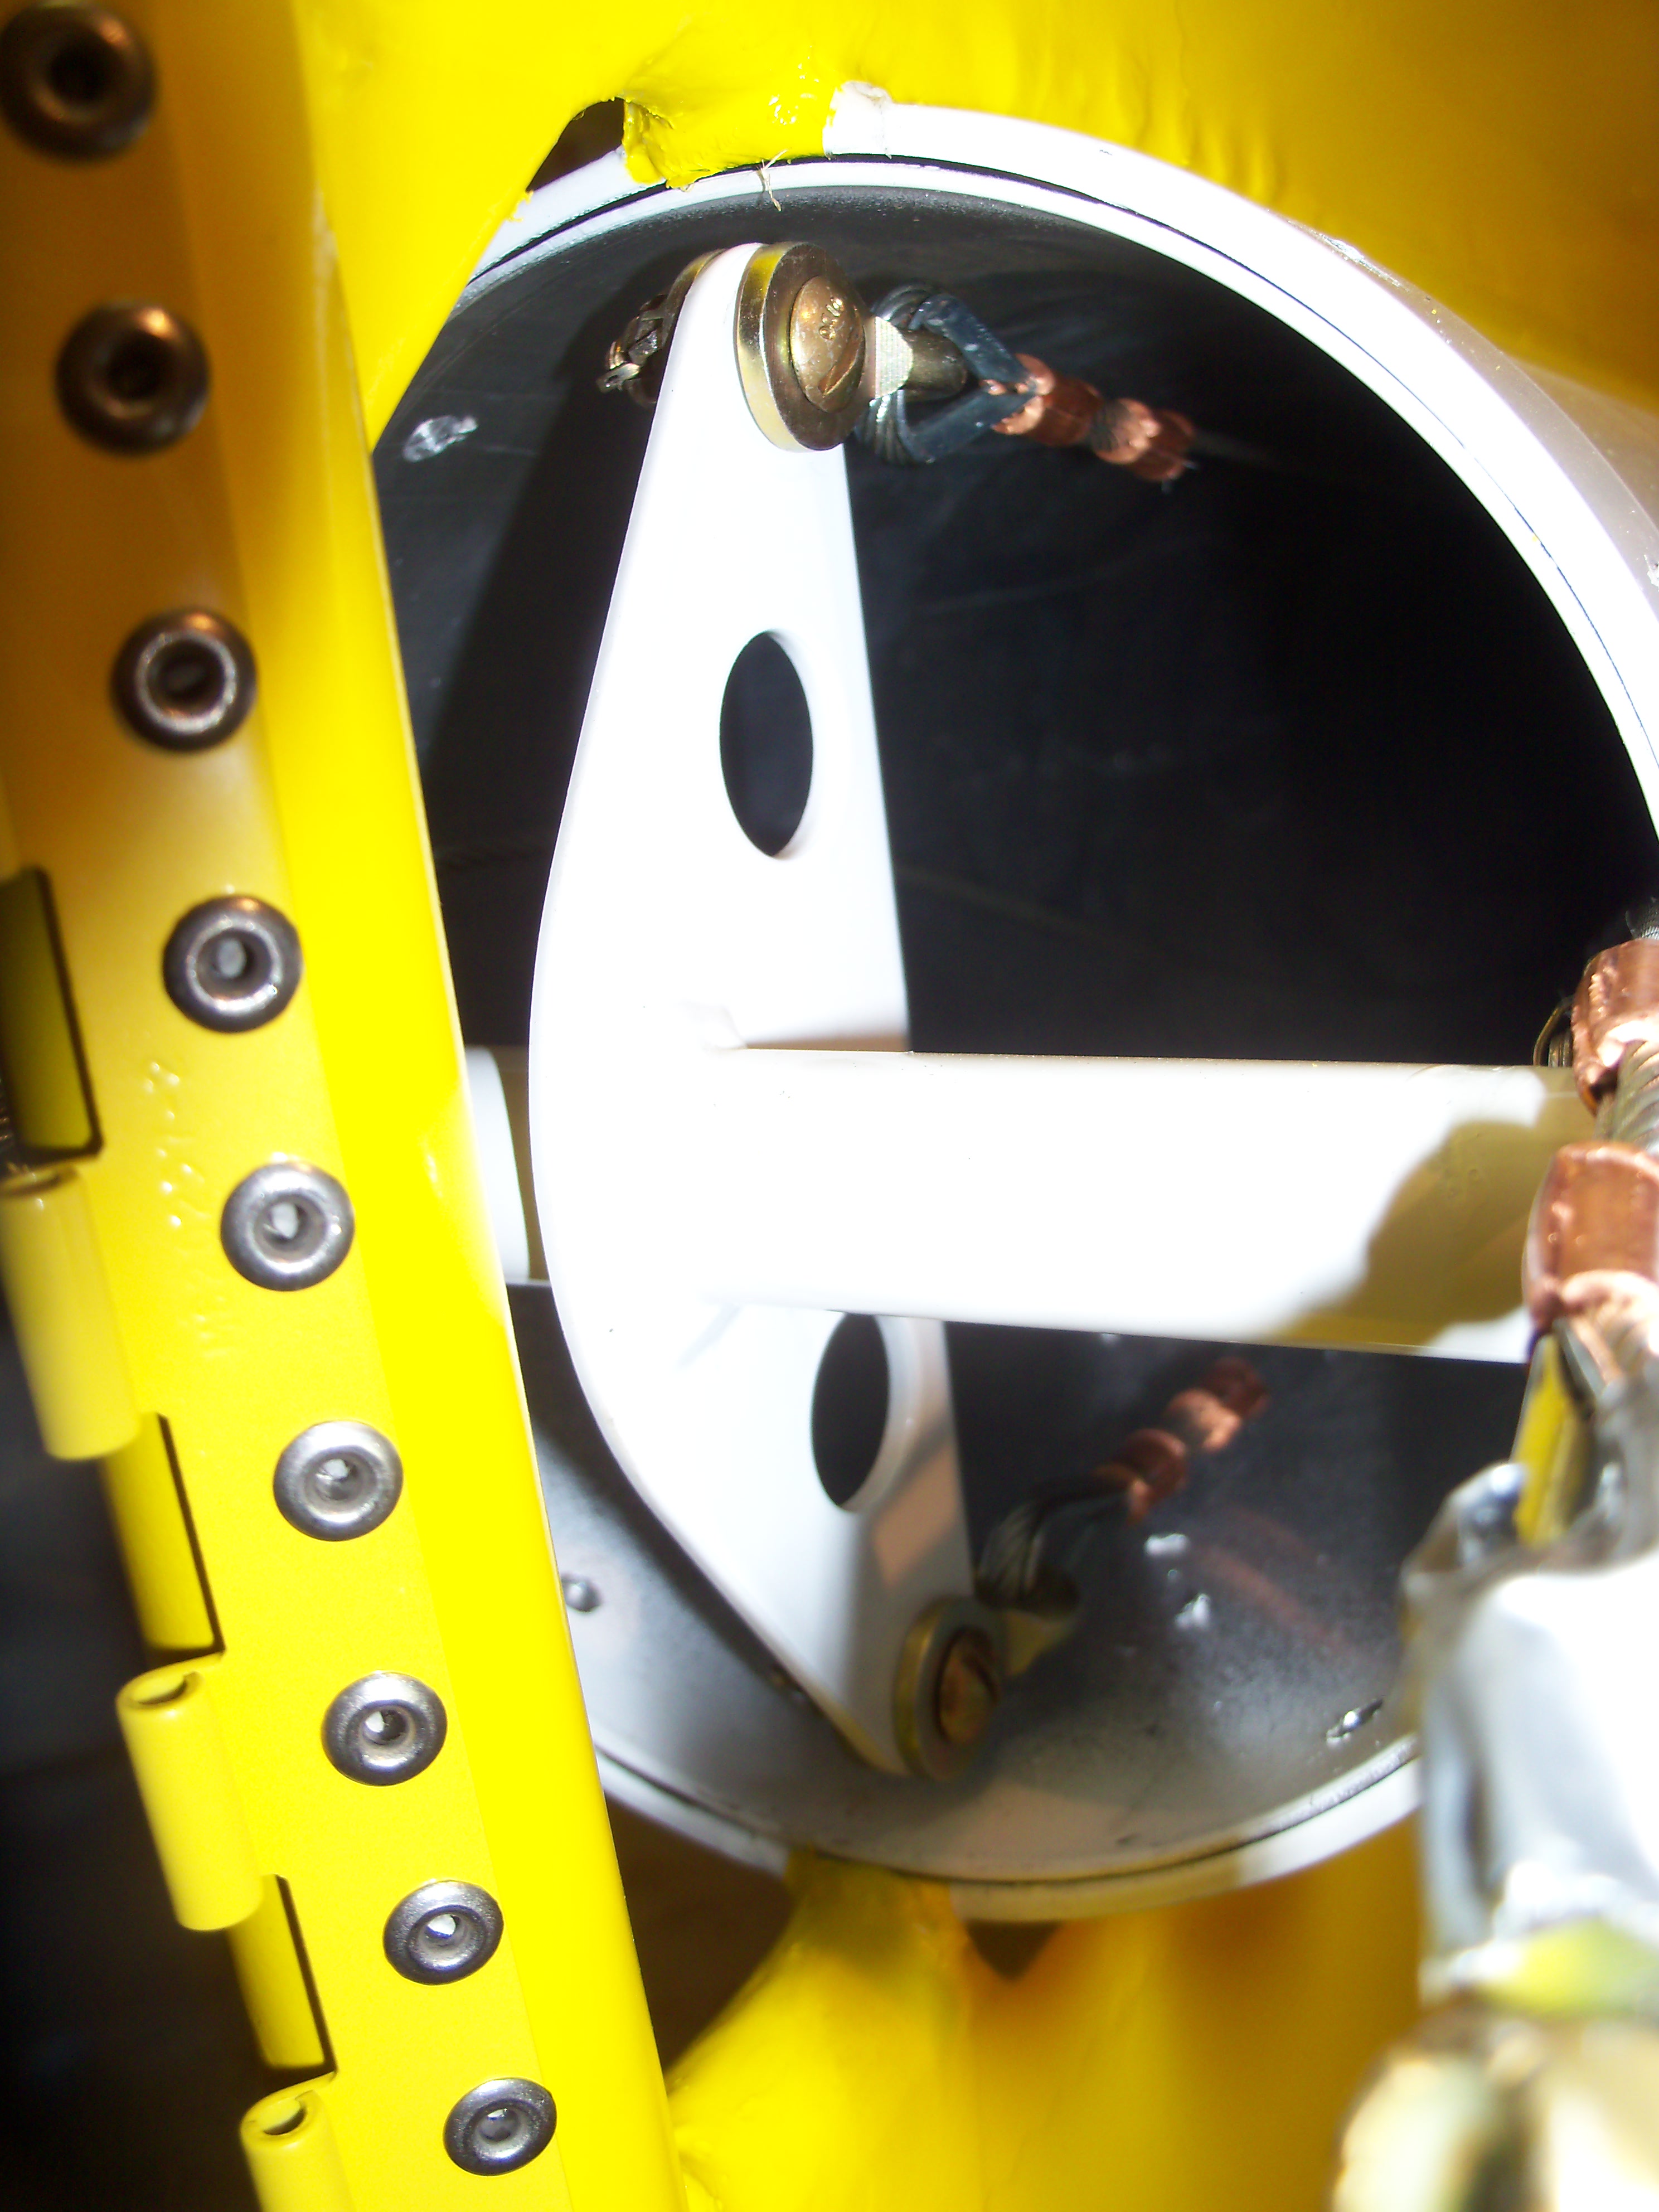
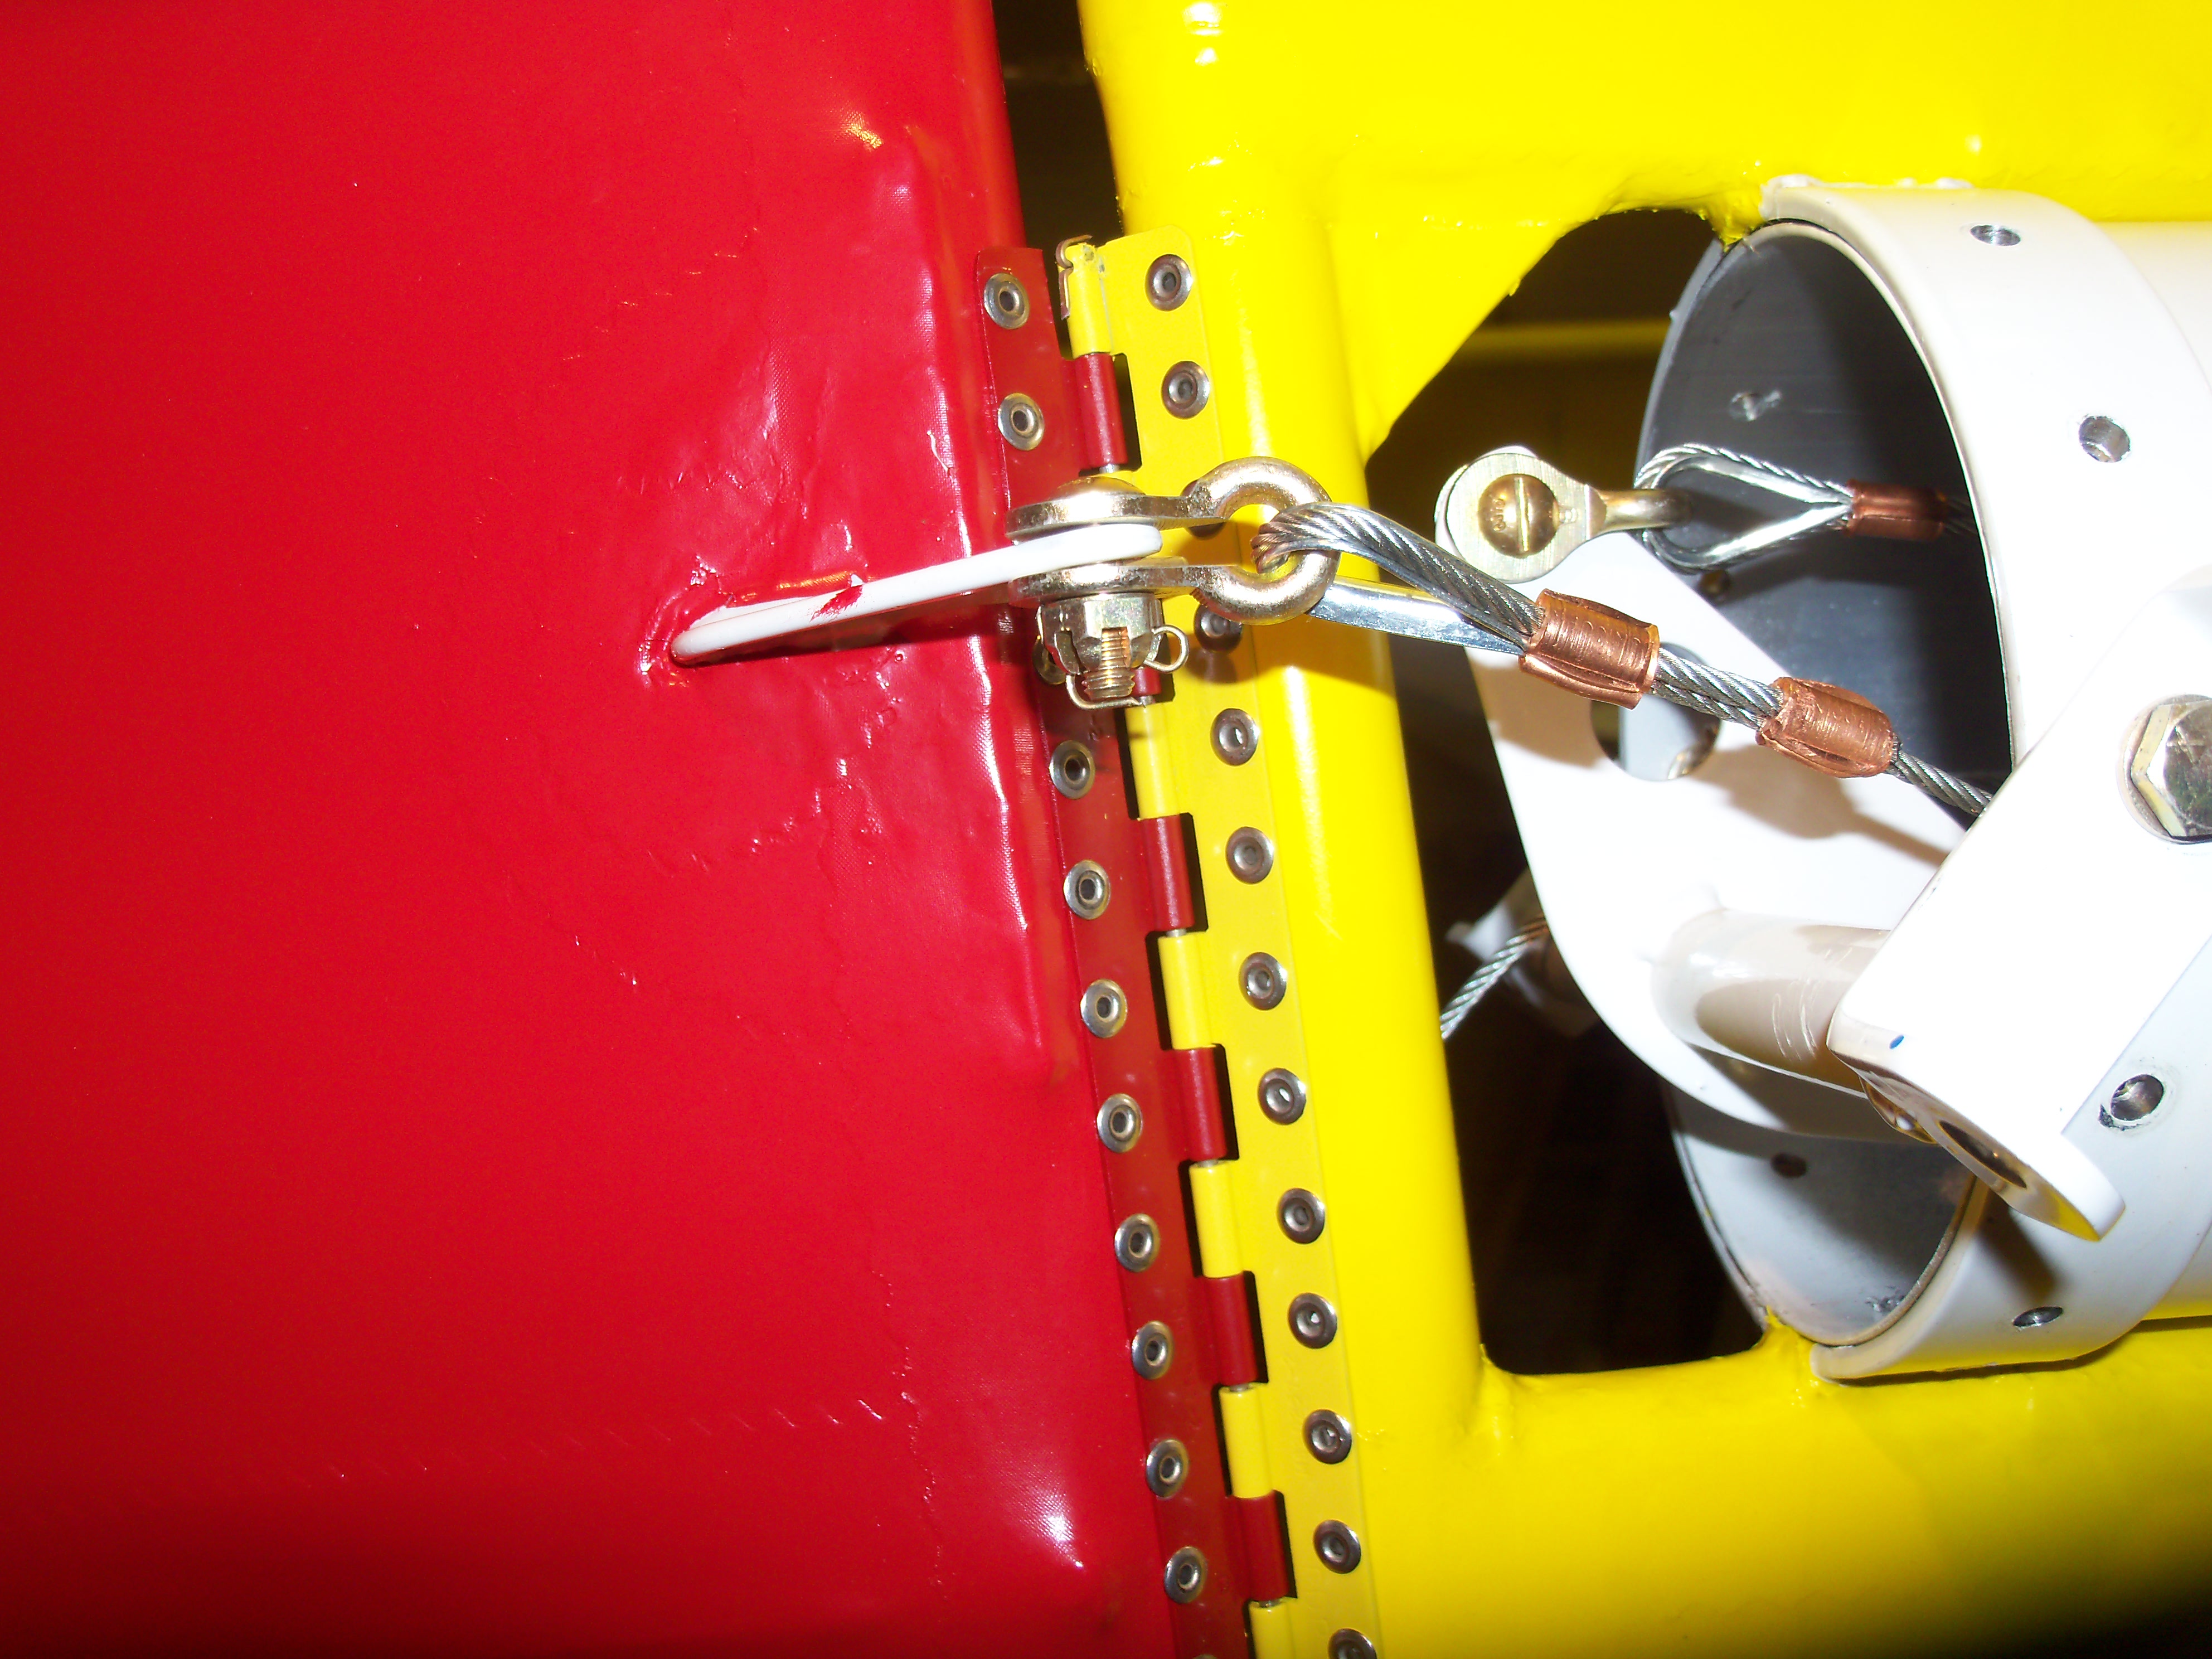
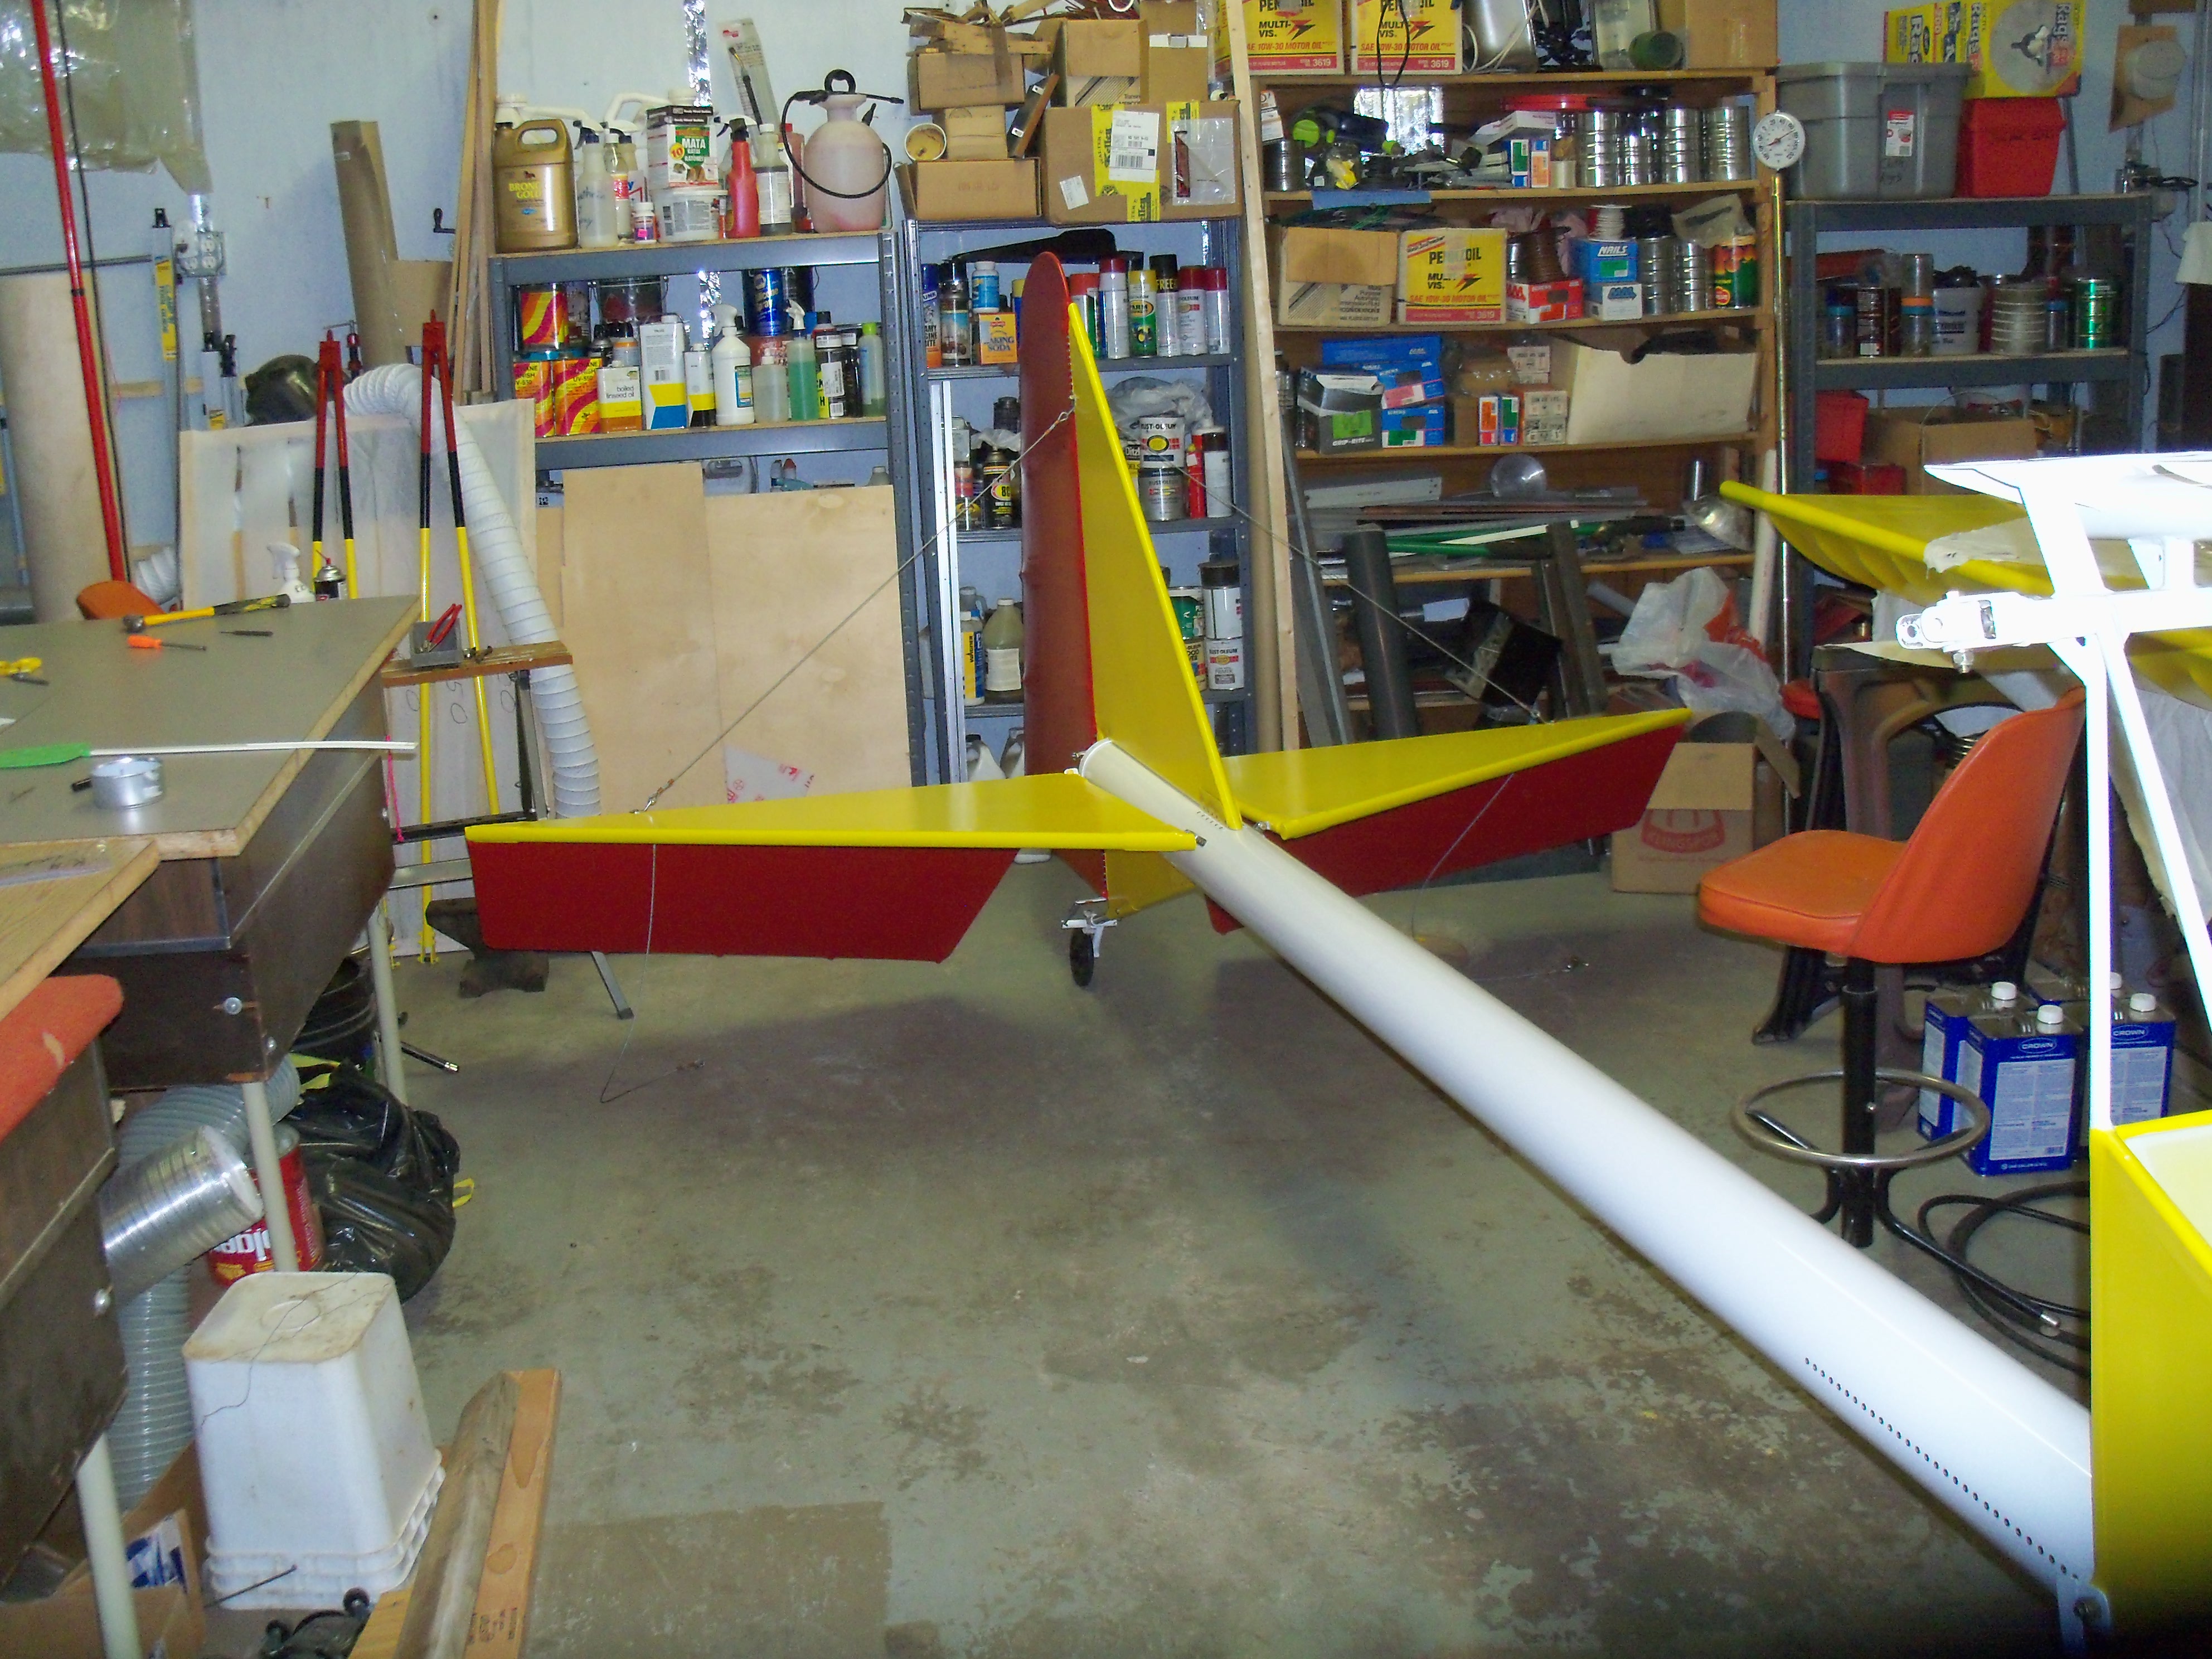
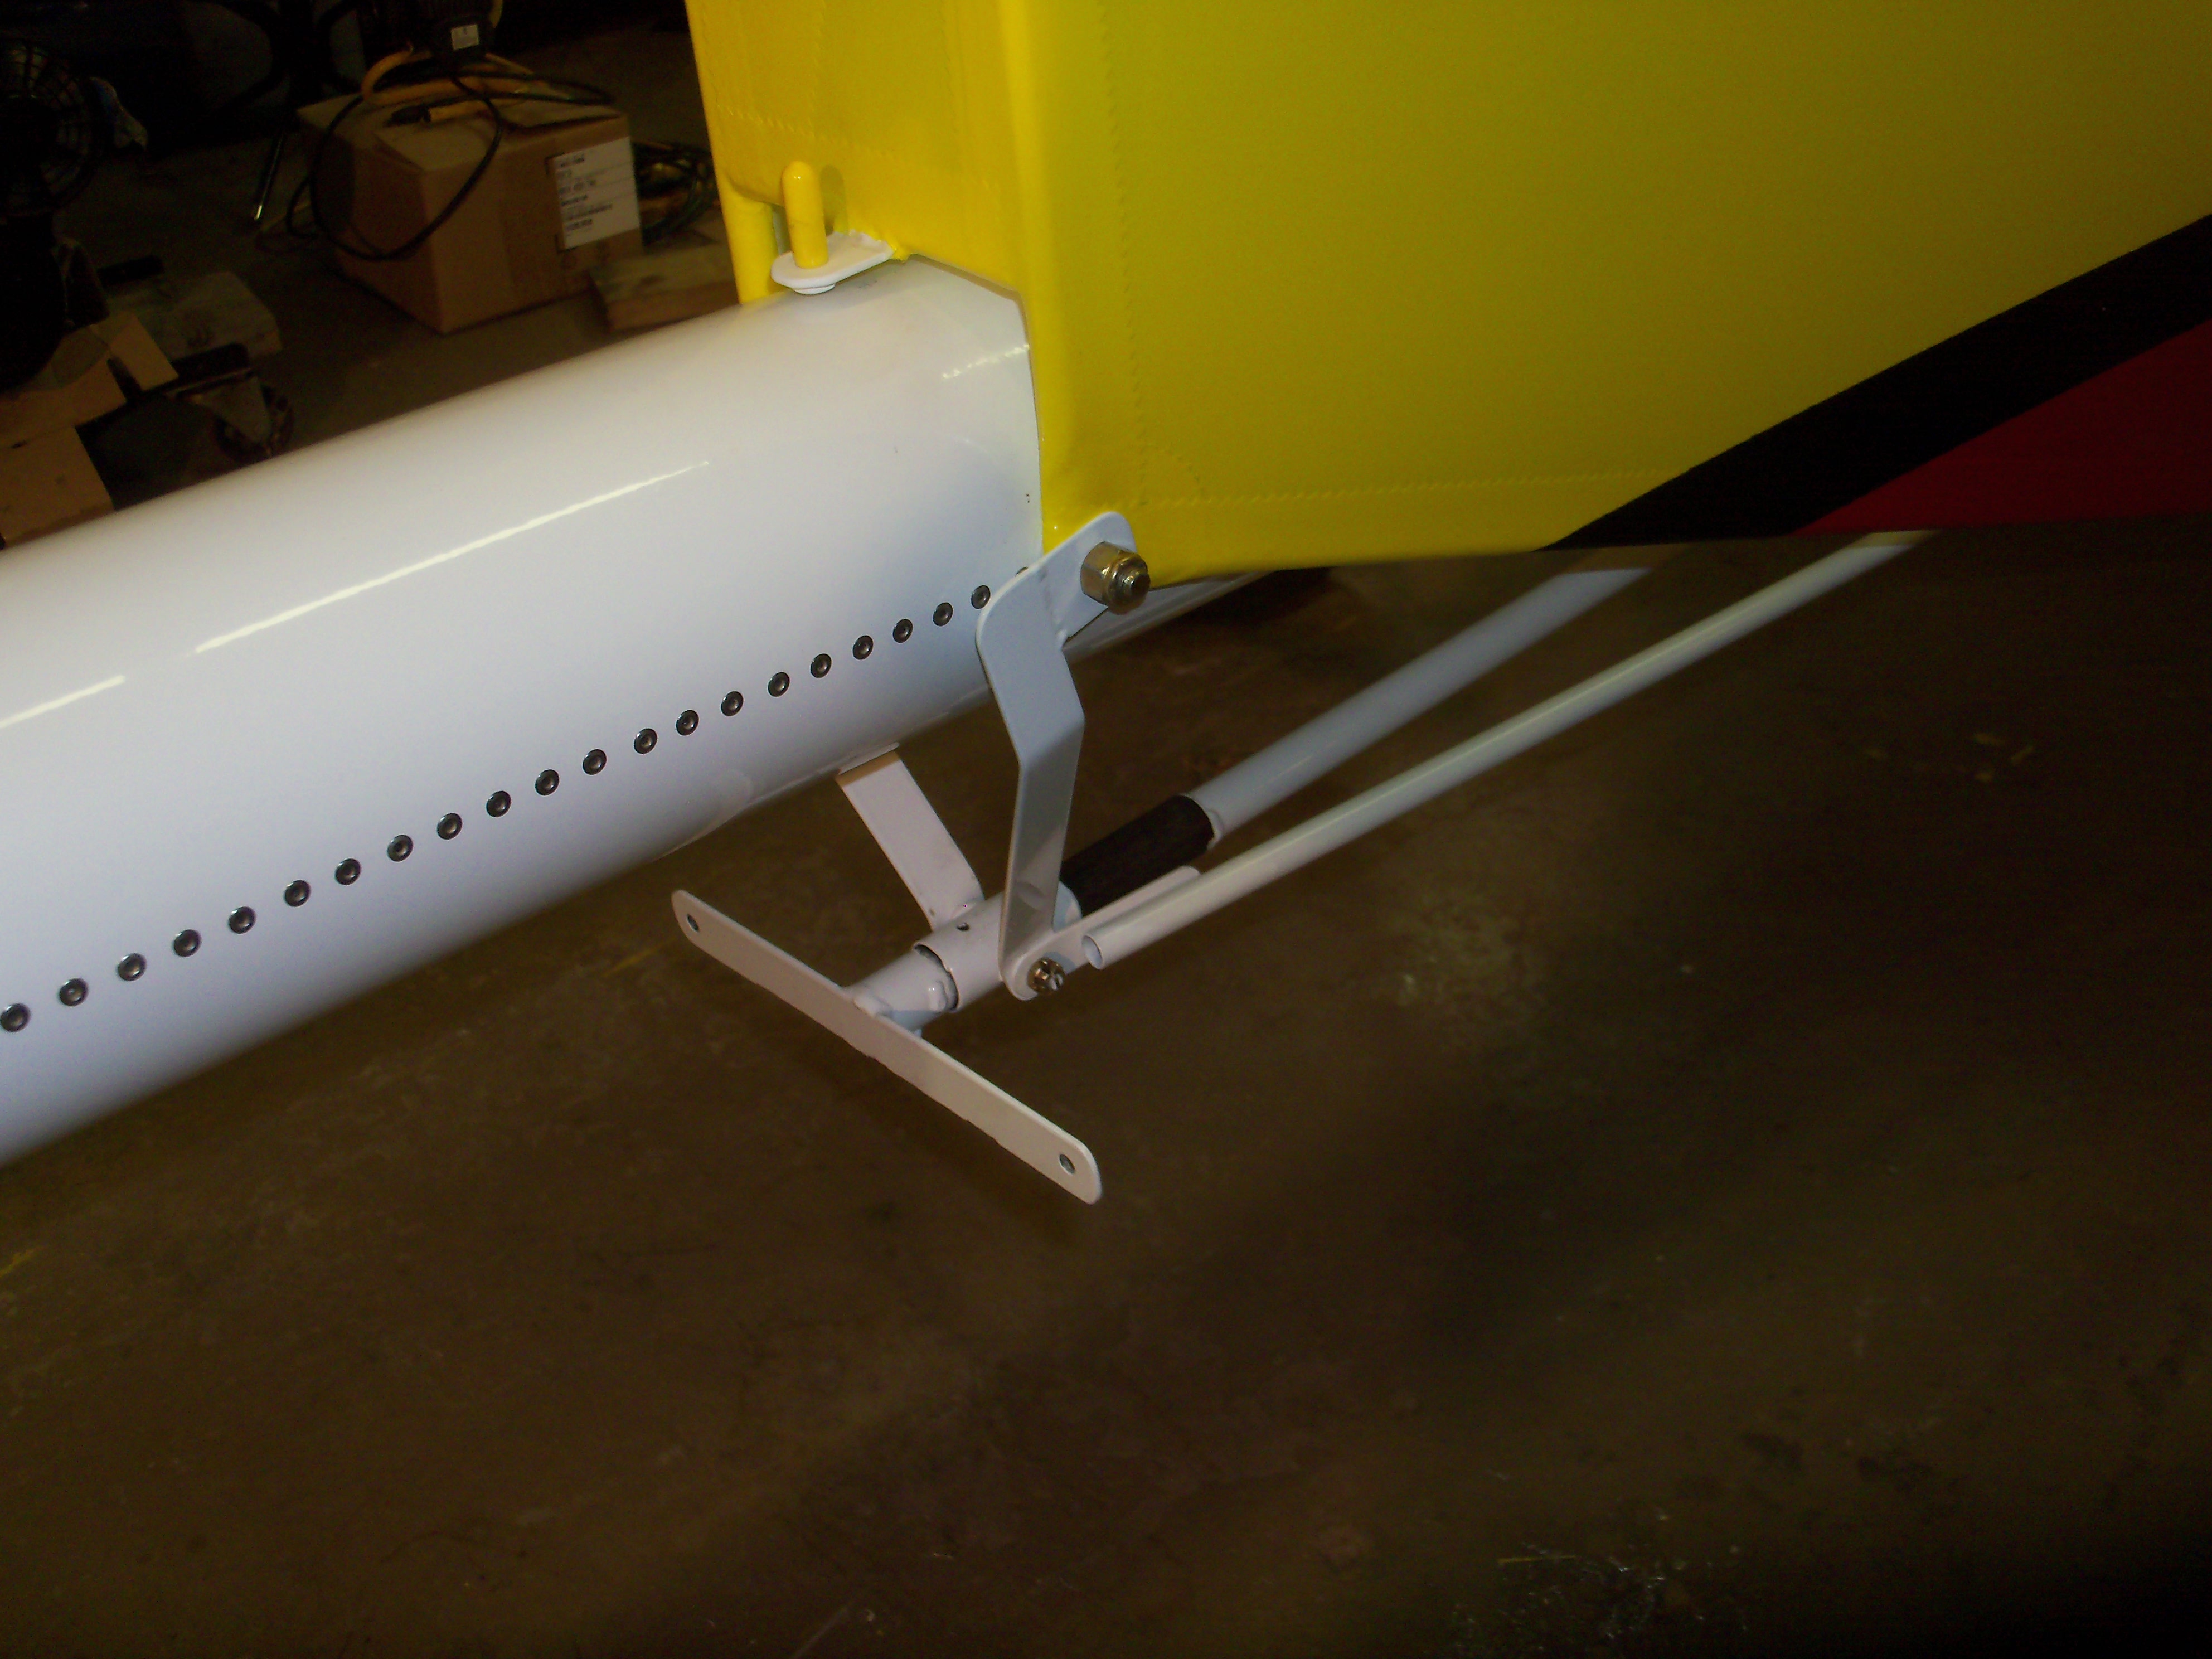
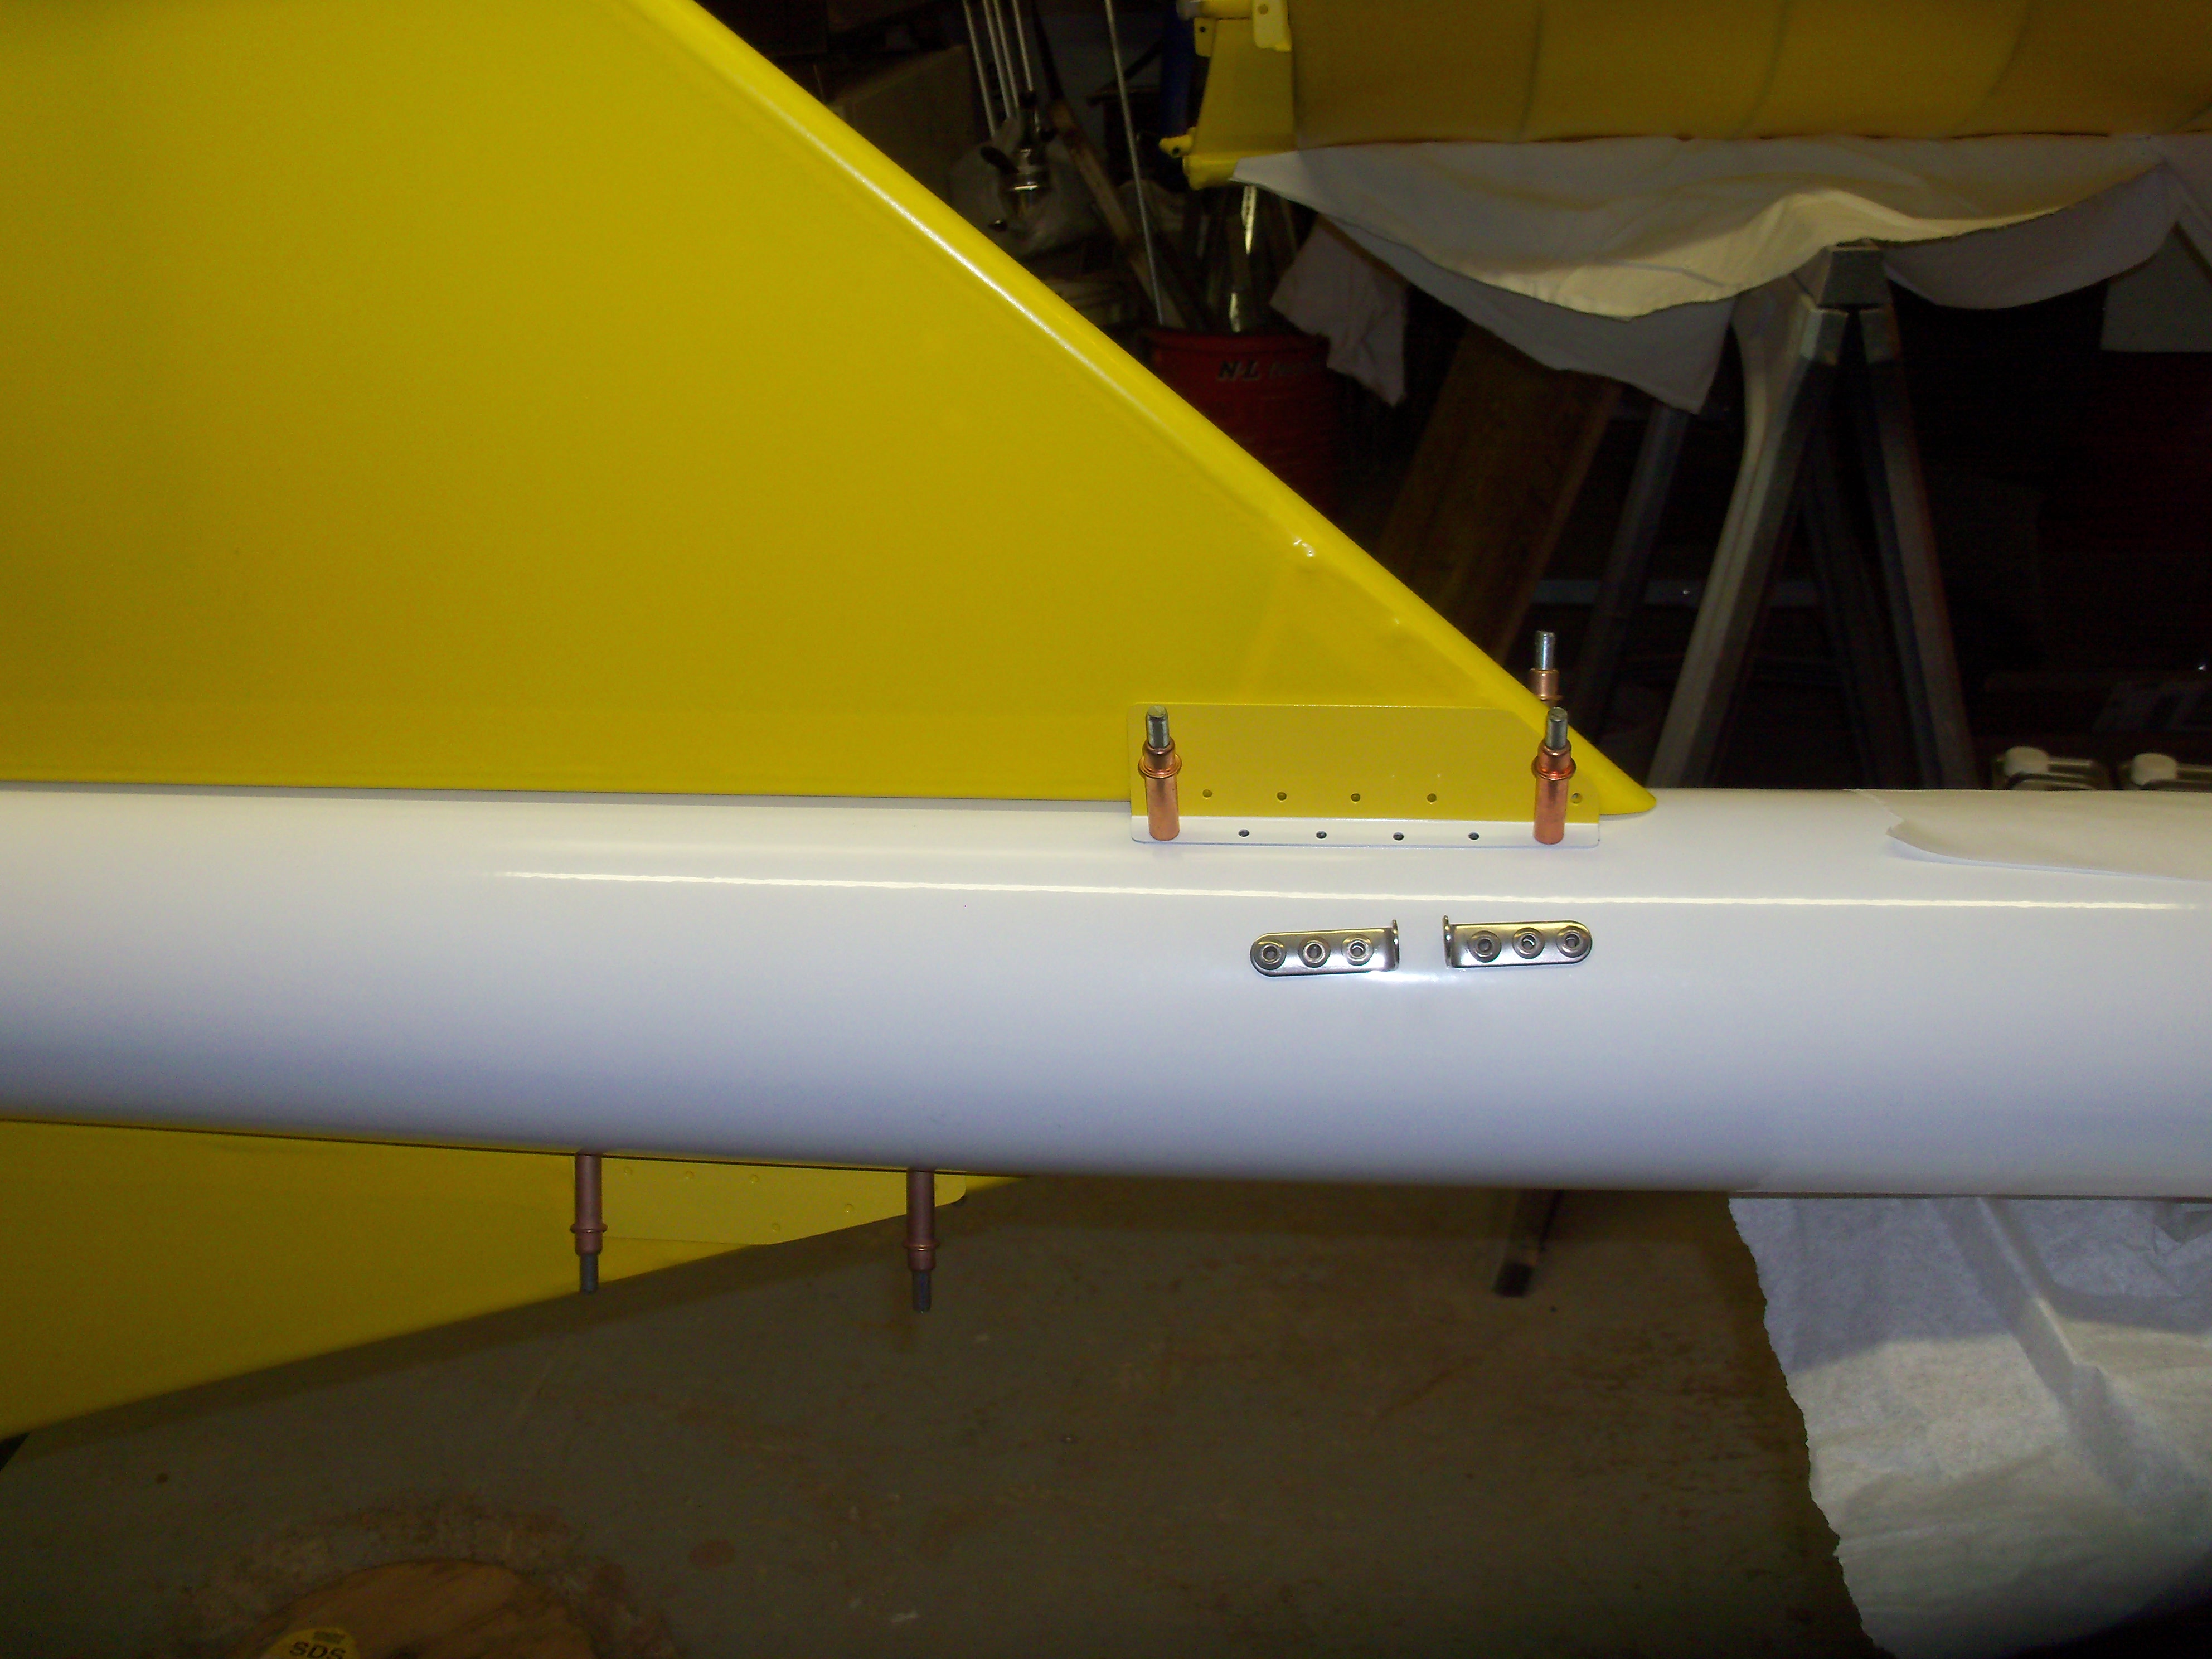
Click on any of the photos below to see the full size image.

Warning, they are fairly large to download. Use your browser's back button to return here.


 image

Vertical Stabilizer

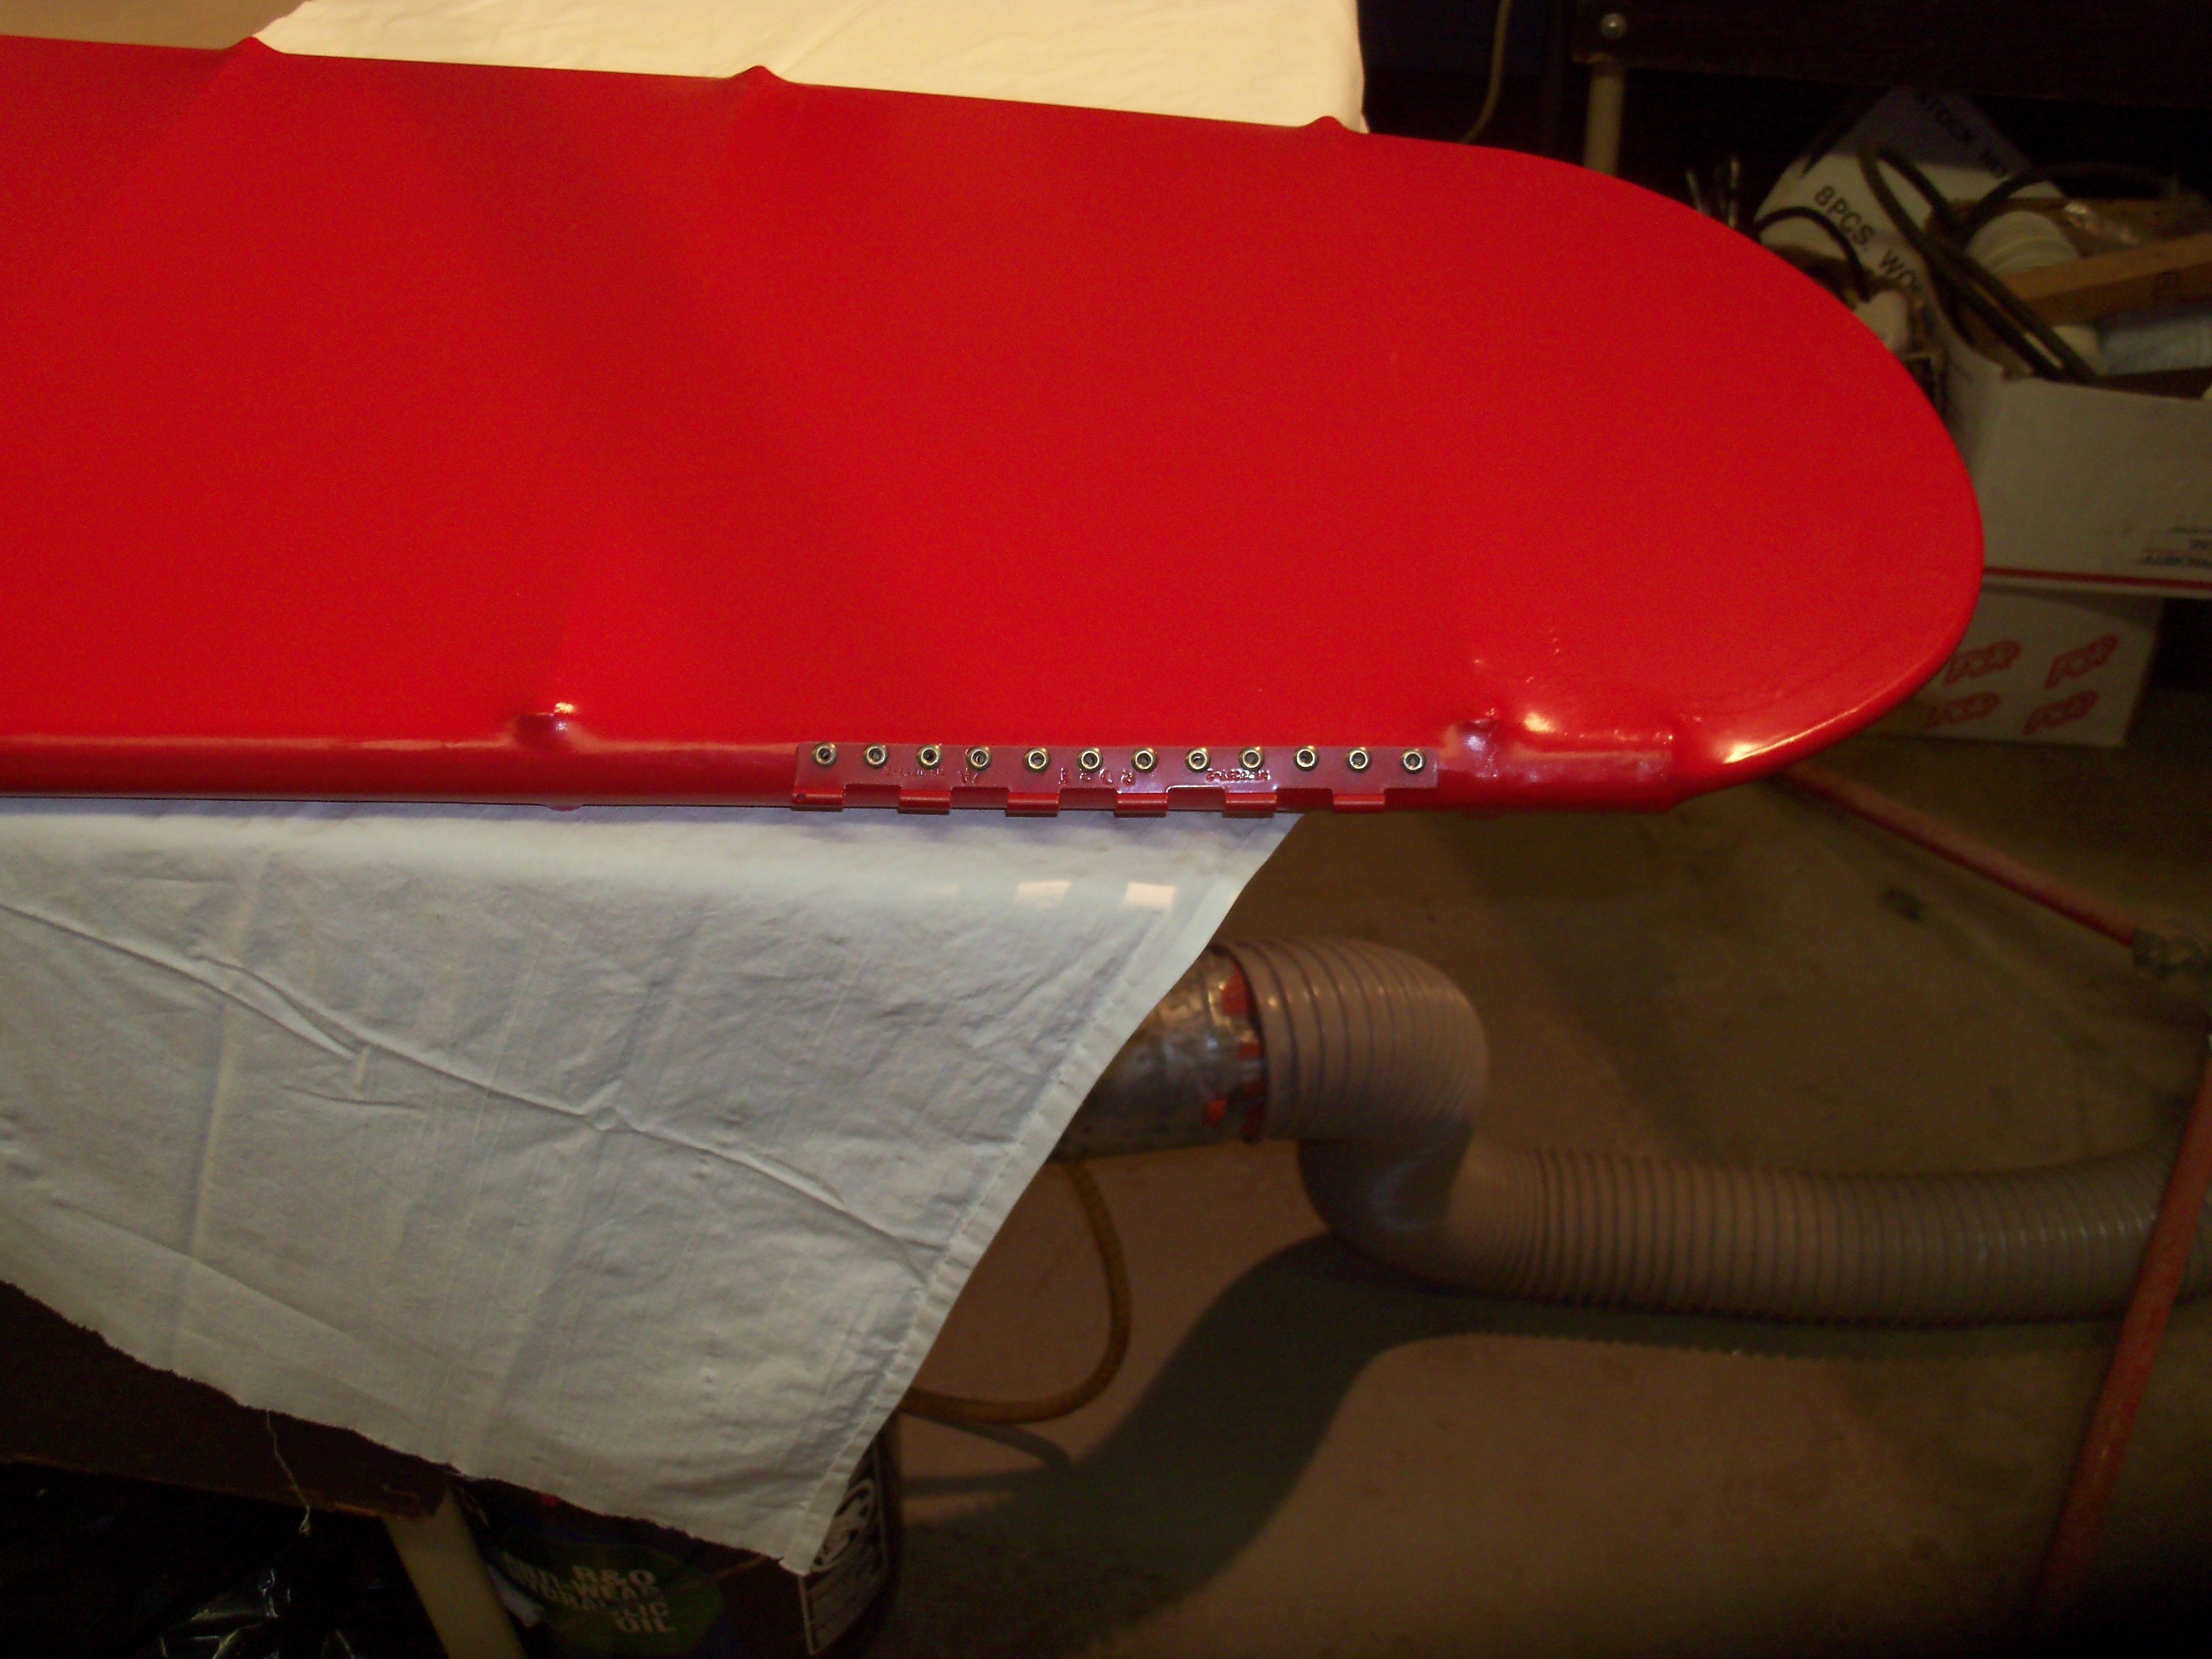
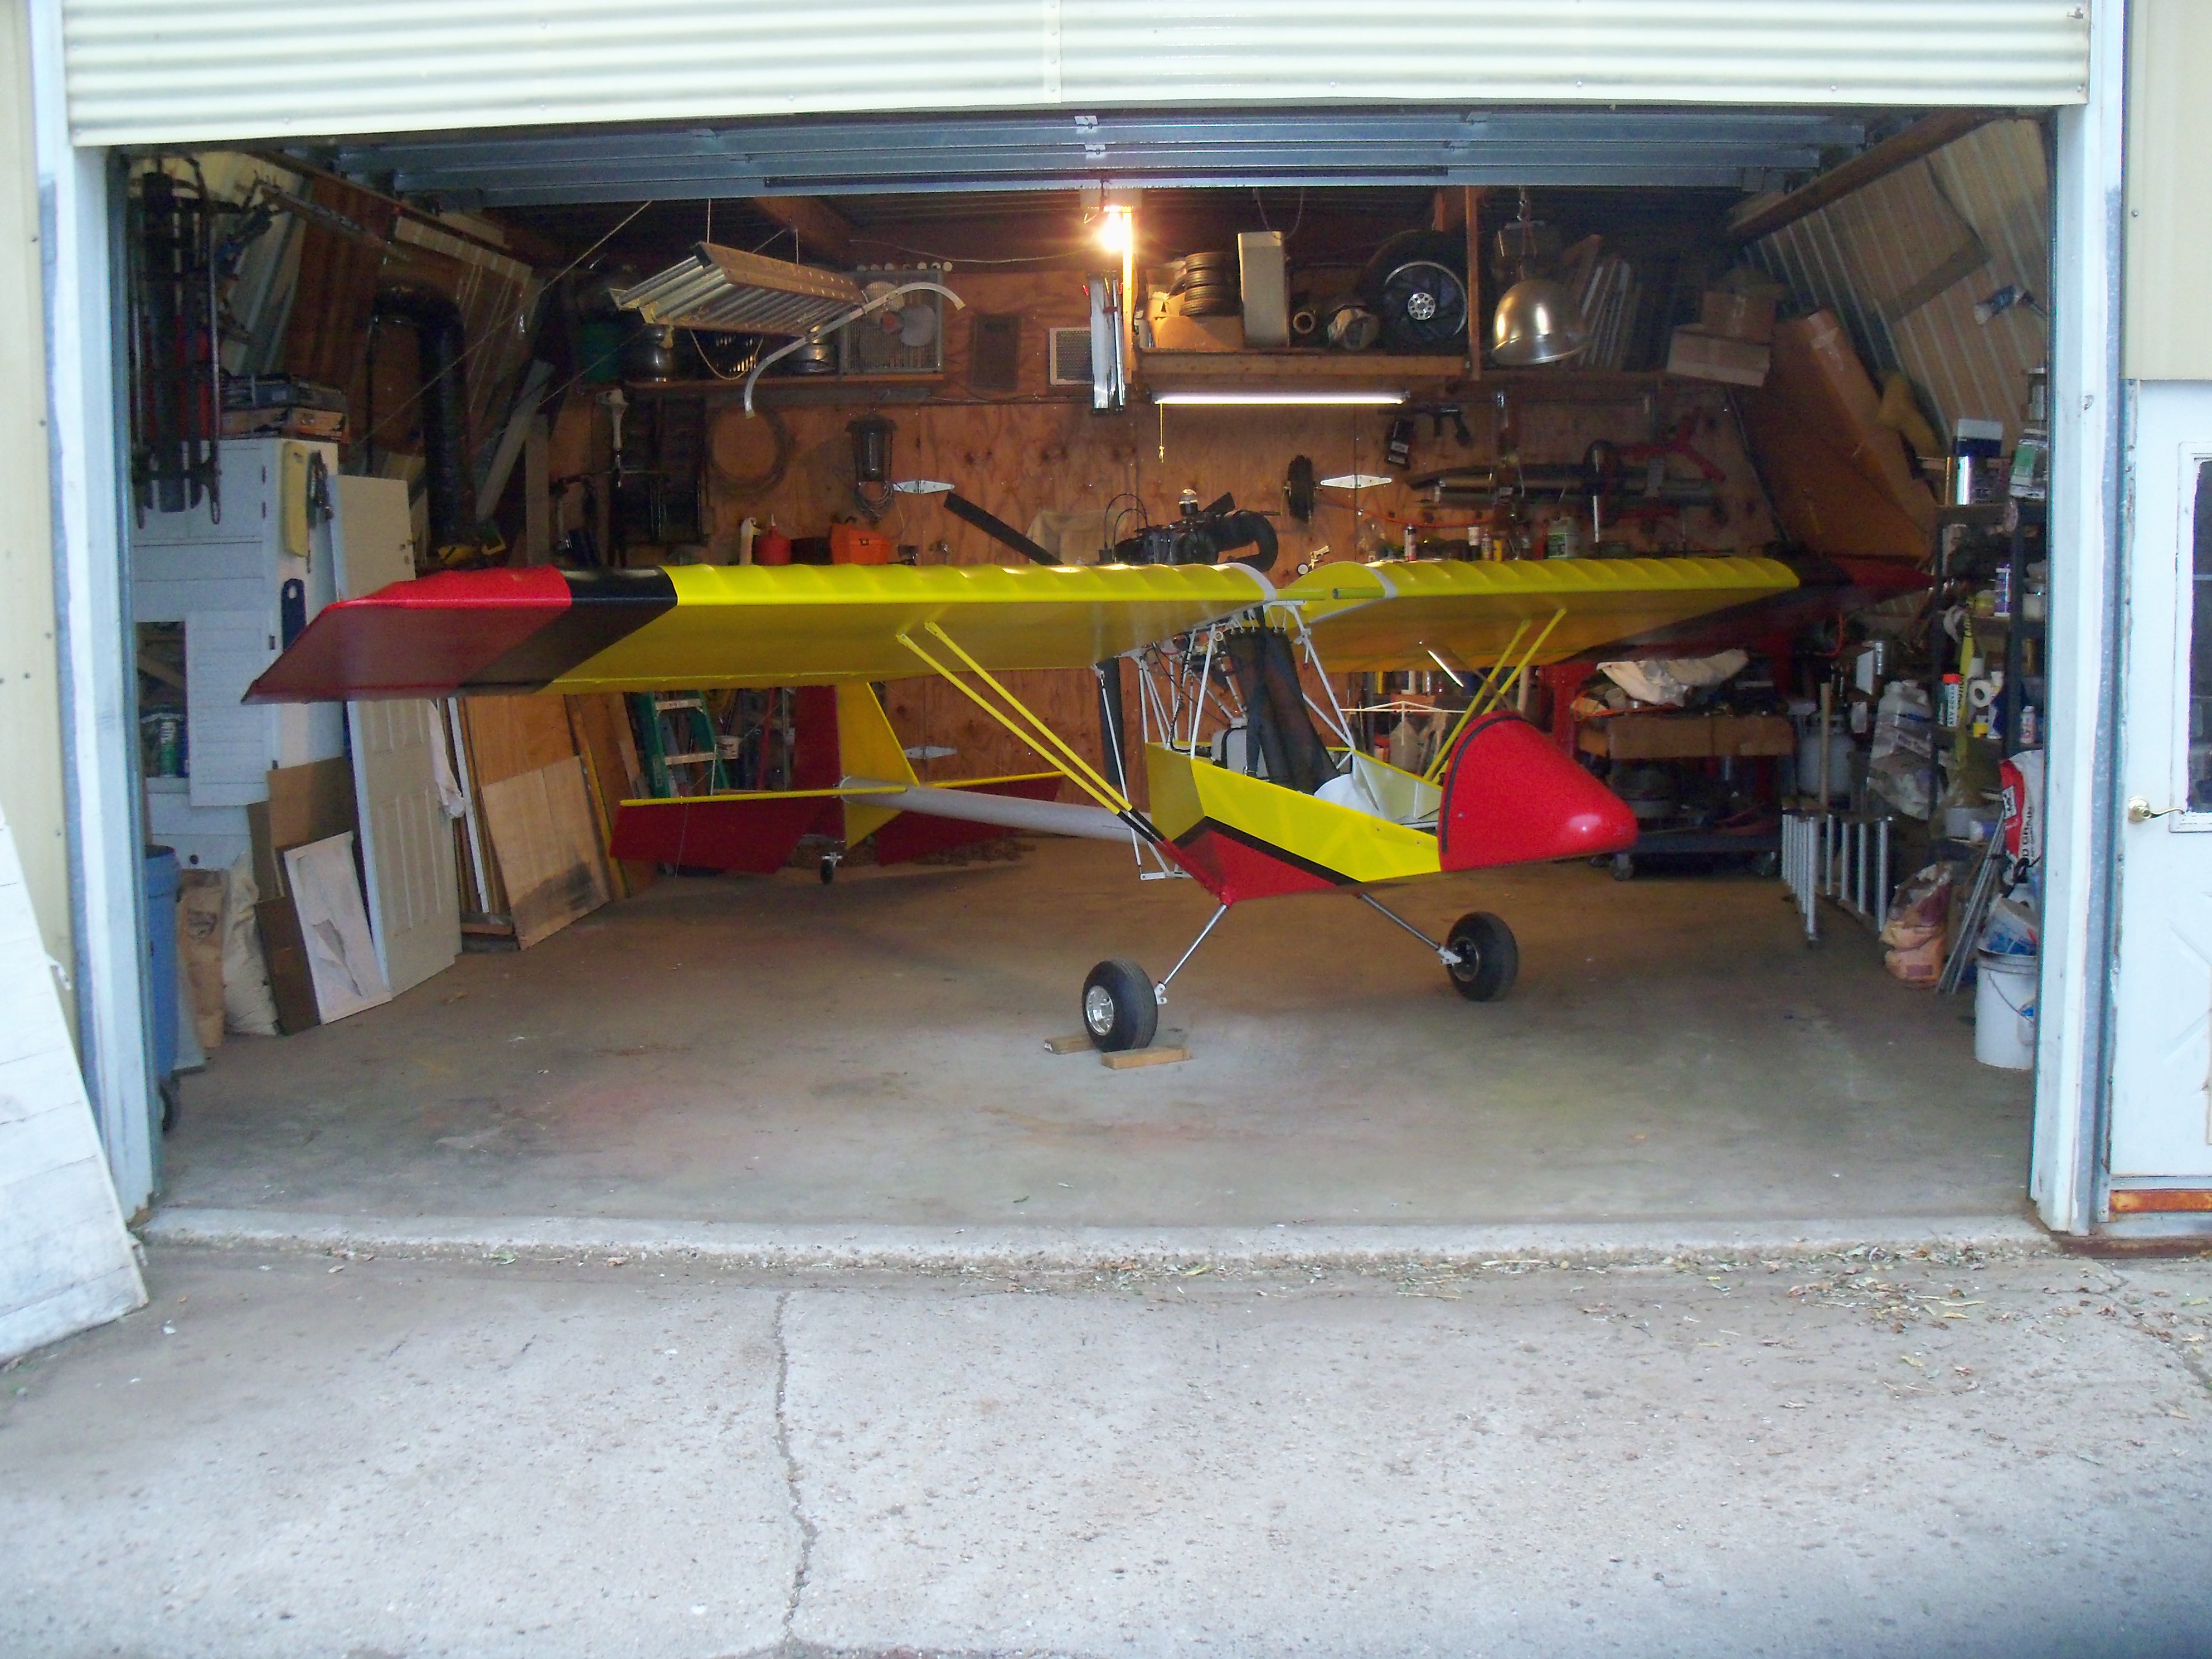
The time finally came to start the final assembly with permanent rivets.

There are a lot of rivets to pull, so I splurged and bought a Harbor Freight pneumatic rivet gun. It may not be the best one available, and if I were to build a Firefly that was not a quick build, I would have a quality rivet gun. The cheap one worked fine and saved a lot of effort.

I had a lot of fun building this kit up to this point, but now it was getting exciting!

 image

Hinges

I used Cleco's in the old rivet holes from the factory alignment. I drilled the remaining holes through the fabric and underlying structure.

Then the hinge halves were riveted to their appropriate locations. I chose to retain the hinge pins with cotter keys so they could be removed easily if the need ever arises.

The hinge halves were assembled and the pins inserted after they were all riveted down. This worked well on all the surfaces except the rudder. Something happened that caused the hinges to not line up properly. They were close, but not perfect. I eventually got it all connected, but at the cost of bending the bottom of the rudder a little. I still don't understand exactly what happened; just be careful when you do it.

 image


Elevator Cables

Here you can see the elevator cables and the bottom rudder hinge.

The hinges for the quick build kit were attached at the outer holes and the other hole locations were marked but not drilled. After disassembly, I used the drill press to finish the holes in all the hinges. Then I prepped and painted the hinges.

I opted for clevis style bolts, as they save a little weight and the shoulders more closely match the length than regular AN bolts. Since these are in a location that can rotate, I used castle nuts and cotter keys. This is not required, but simply a personal choice.

 image


Rudder Cables

Here the rudder cables are finished and the tail assembly ring is ready to be bolted to the tail boom.

The plans call for rivets to hold the tail ring to the tube, but I did not have any so I opted for AN bolts instead. This will make disassembly easier if it is ever needed.

So much for the weight saving from he clevis bolts!

 image

Elevators Attached

This is the first time the painted and completed tail was ever viewed.

It turned out as expected. Up until this point, the paint scheme was only in my head and some sketches my wife drew up.

I had an idea in my head and it took a lot of experimenting with drawings to convey to my wife what it was I wanted.

See the paint scheme page to see all of her ideas.

 image


Torque Tube Swing Arms

I had a bugger of a time trying to figure out how to cover and apply patches to this area I just kept gluing and shrinking and eventually it came out pretty well.

I suppose eventually using the flaps will wear a hole in the fabric, but with tapes and patches, that will be MANY hours of flight before that happens.

 image

Nose Cone and Windshield

Instruments are all installed in the nose cone. See the Nose Cone page for details.

It was kind of hard to get the windshield installed even with a helper. I thought I could get by without gluing the rubber strip to the windshield. In hindsight, I should have used at least a little glue. It has a tendency to work loose in flight and it would have made installation a lot easier.

Live and learn.

 image


Time for Wings

It was decided that it would be easier to hang the wings out in the open where there would be plenty of room to maneuver.

Since I had never folded the wings and only seen it done in videos, I wanted lots of room and help the first few times.

 image


Complete!

Serenity fully assembled for the first time ever.

WOW!

This has been a lot of fun.

 image


Ready for Final Touches

Wings were folded, then she was rolled into the garage. We figured out how to find room to unfold the wings by doing one side, then sliding the fuselage sideways to get enough room to unfold the other side.

Now we can do the weight and balance without the wind affecting the scales.

 image


Weight and Balance

We used 3 of the same model electronic bathroom scales purchased at WallyWorld for about $25 each. The scales were all tested with the same items of different weights and proved to be accurate and fairly close to each other, varying less than .5 pounds from lowest to highest.

To reconcile this, we weighed the plane 3 times with each scale being in each location then averaged the readings.

 image

The Jack

This looks a little strange but one of the short comings of using these scales is that they turn on and off automatically when weight is applied. This jack adaptor allowed us to easily raise the wheels to allow for the swapping of the scales. Also we could unload the scales, then reload to reset and auto start them.

This arrangement also allowed my wife to reset the scales and take readings while I was in the seat.

Crude, but it worked.


Serenity Home HarnerFarm.net