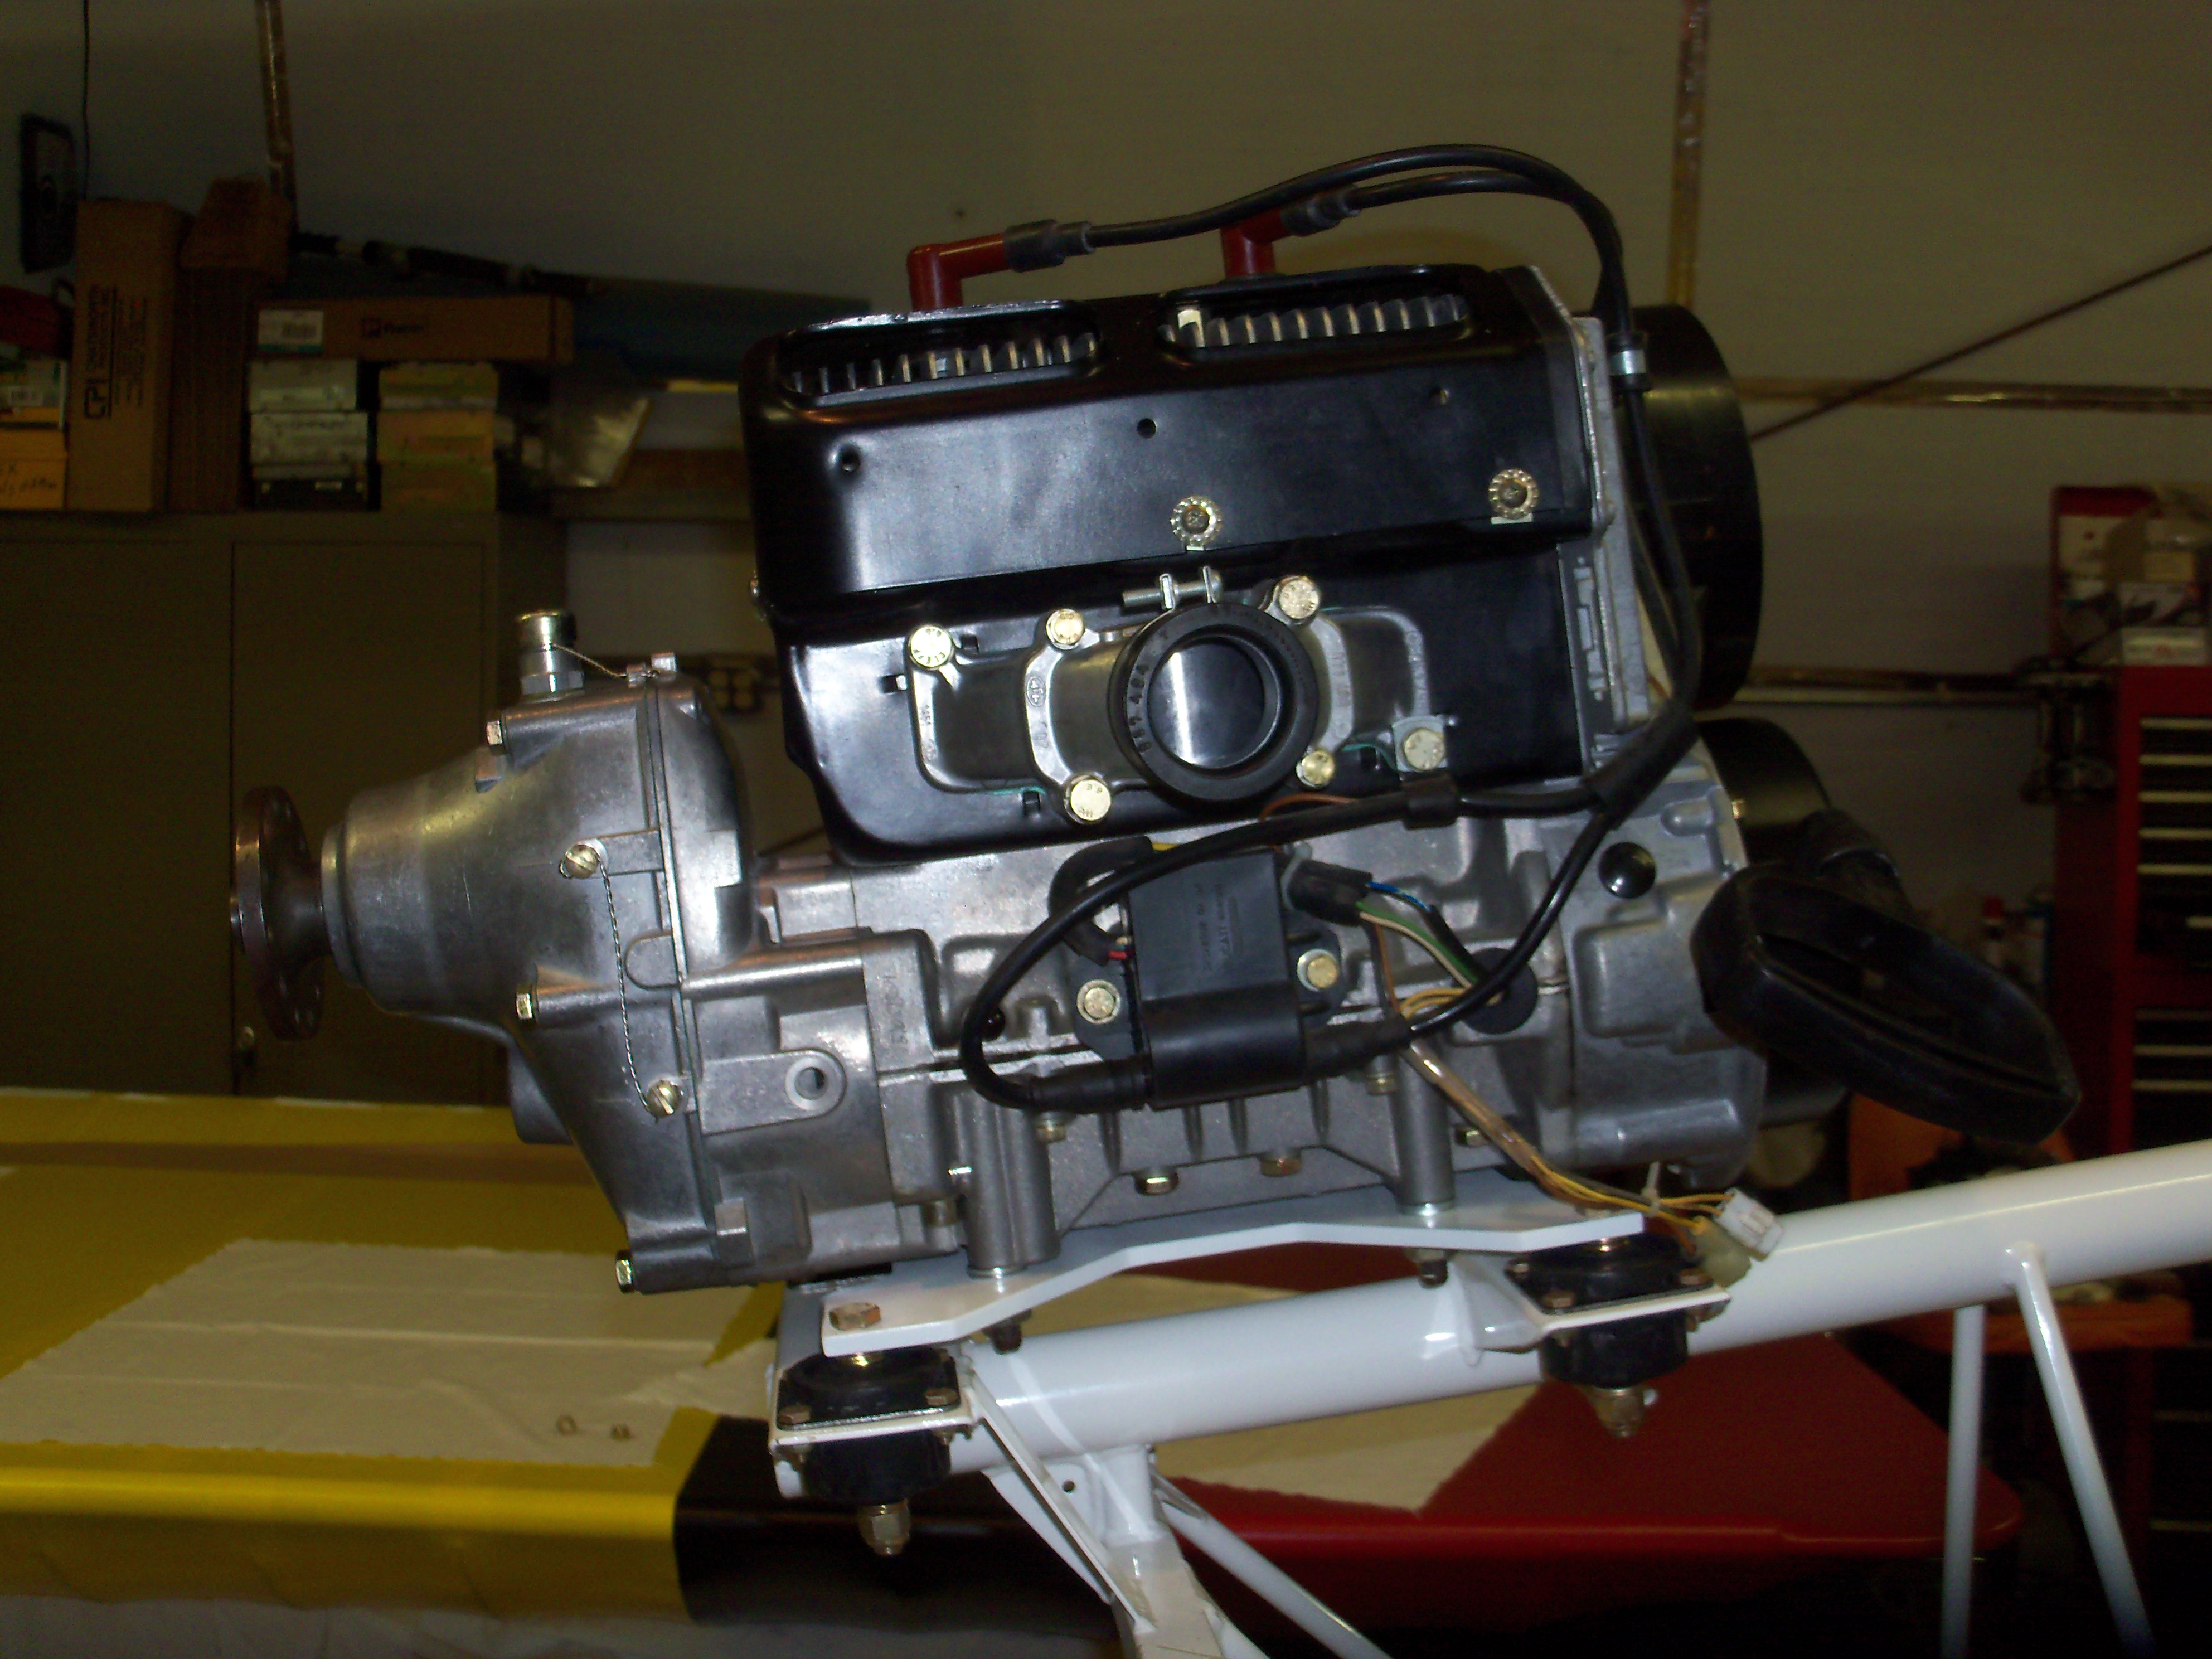
Click on any of the photos below to see the full size image.

Warning, they are fairly large to download. Use your browser's back button to return here.


 image

Used Rotax 447

The original plan was to purchase a new Hirth engine. There are not many choices since Rotax discontinued all the models smaller than the 582. The newer Hirth engines have been proving to be good choices.

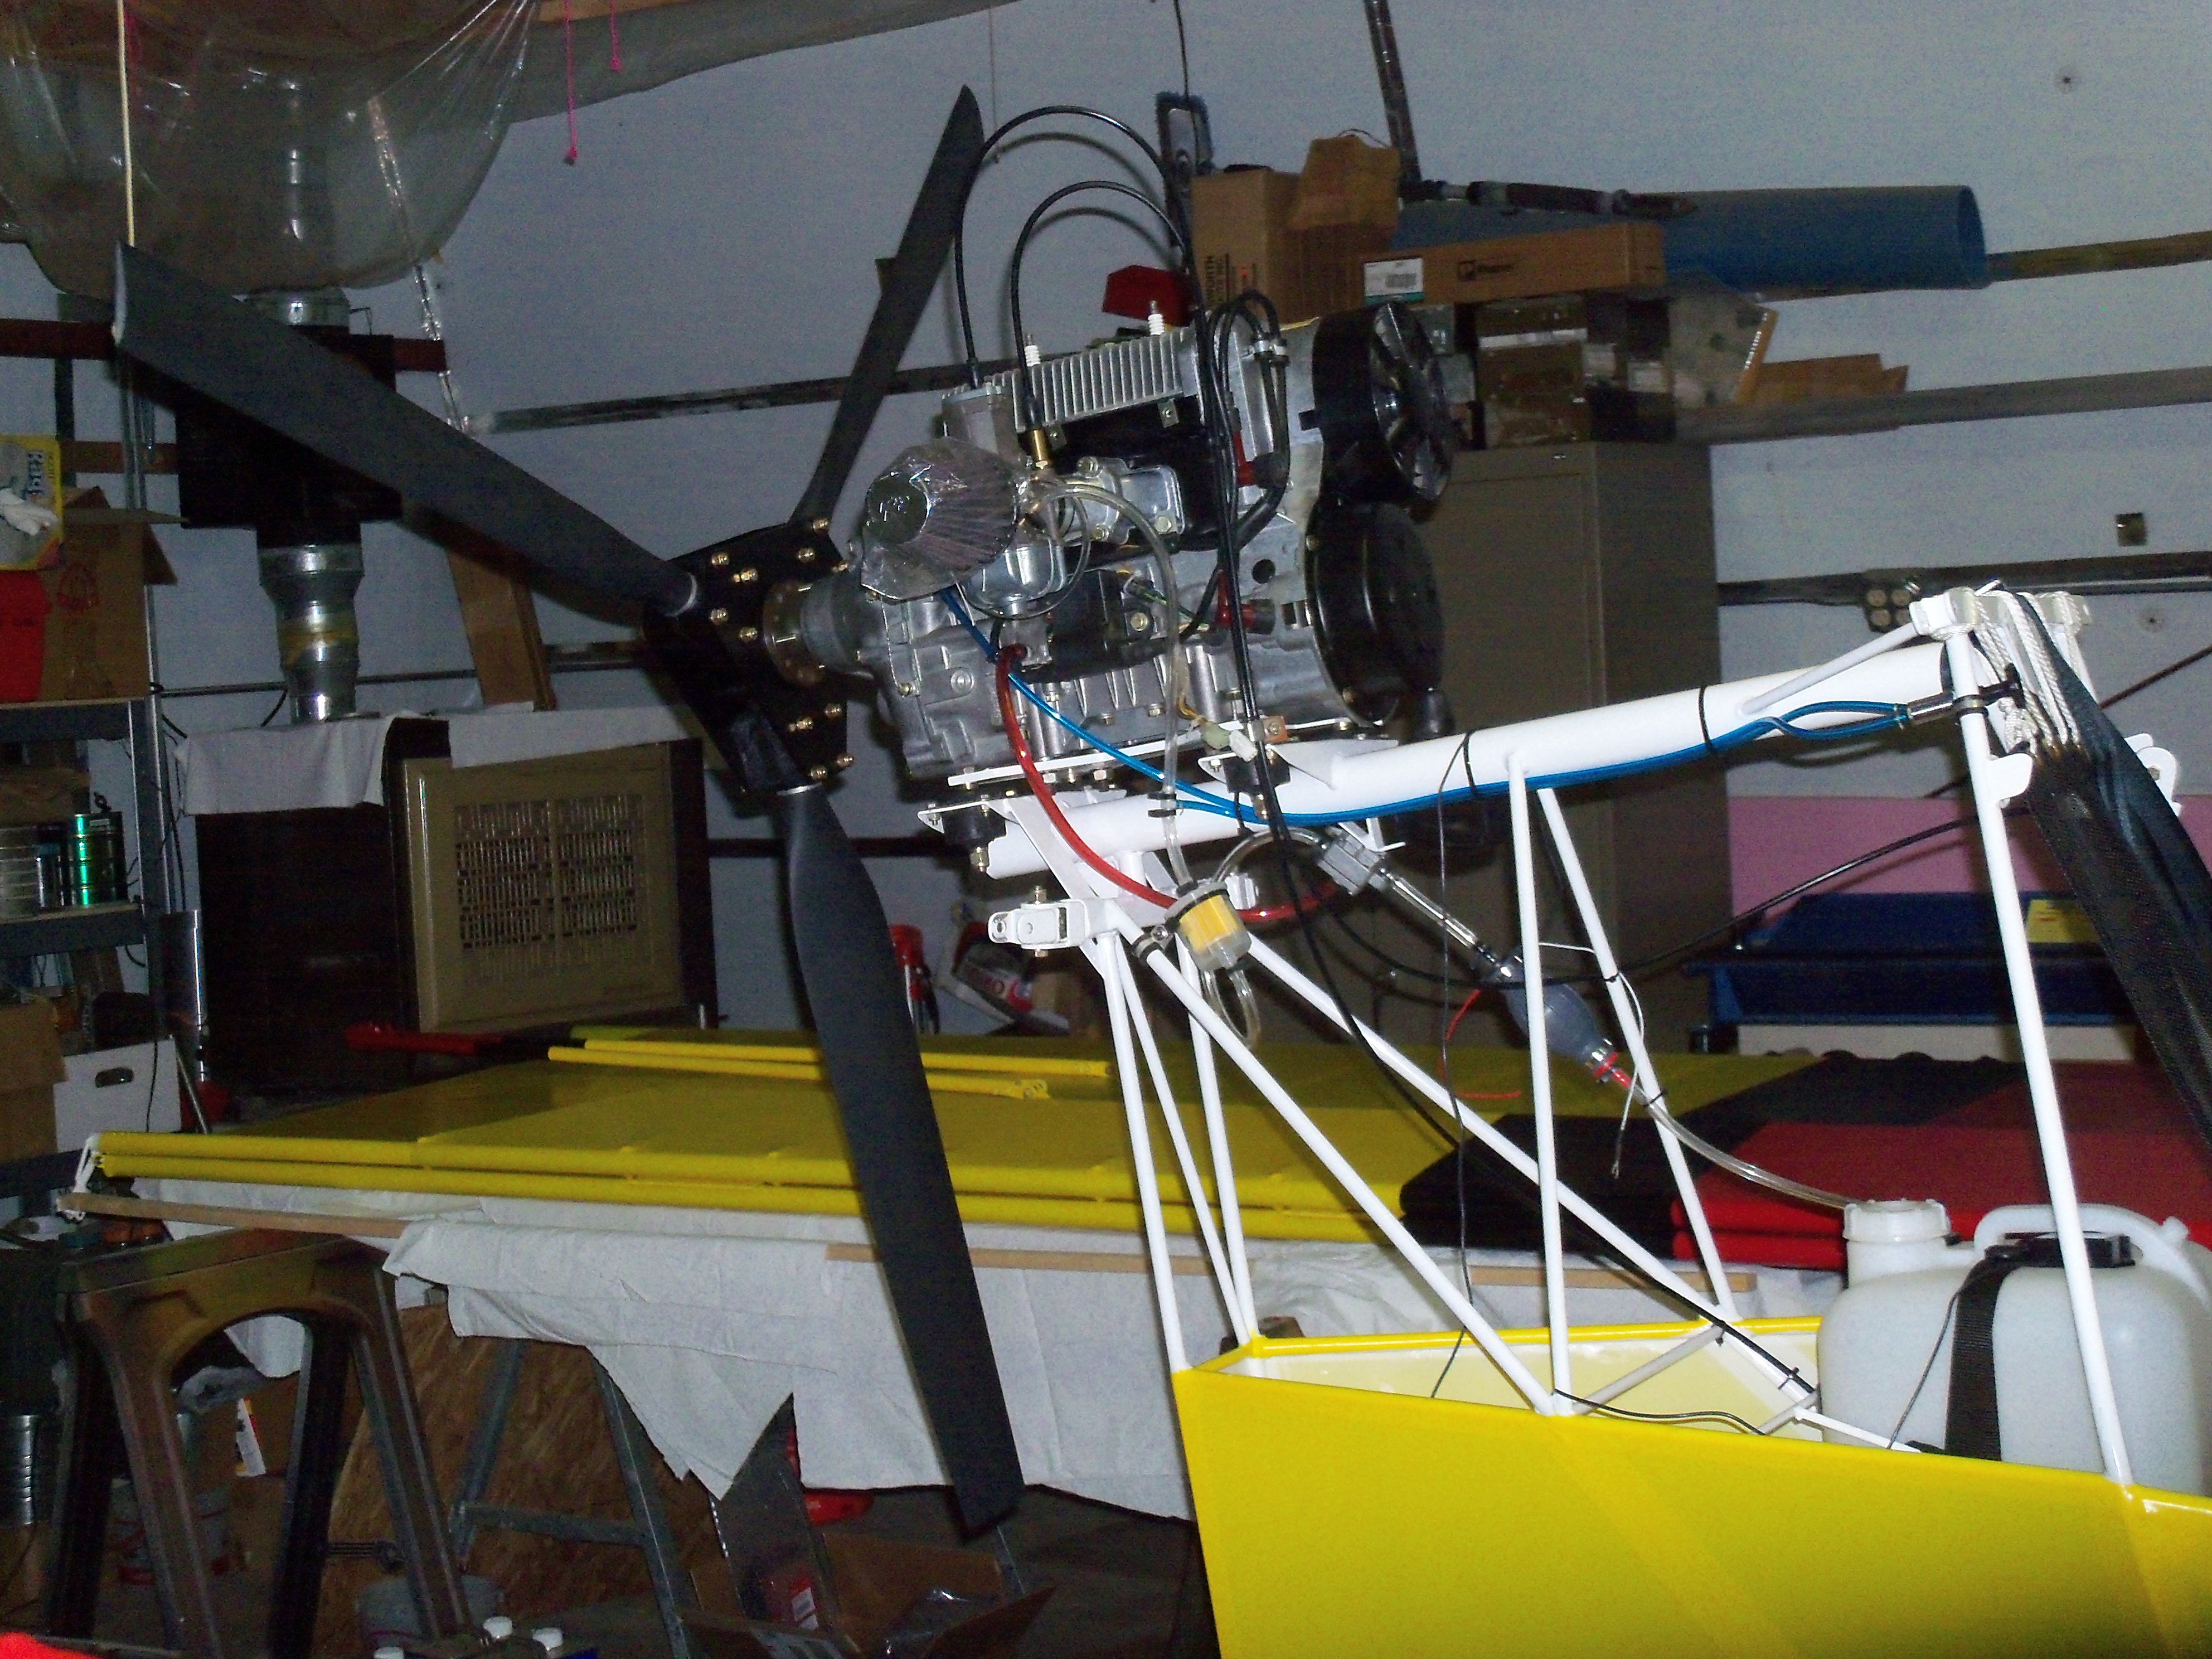
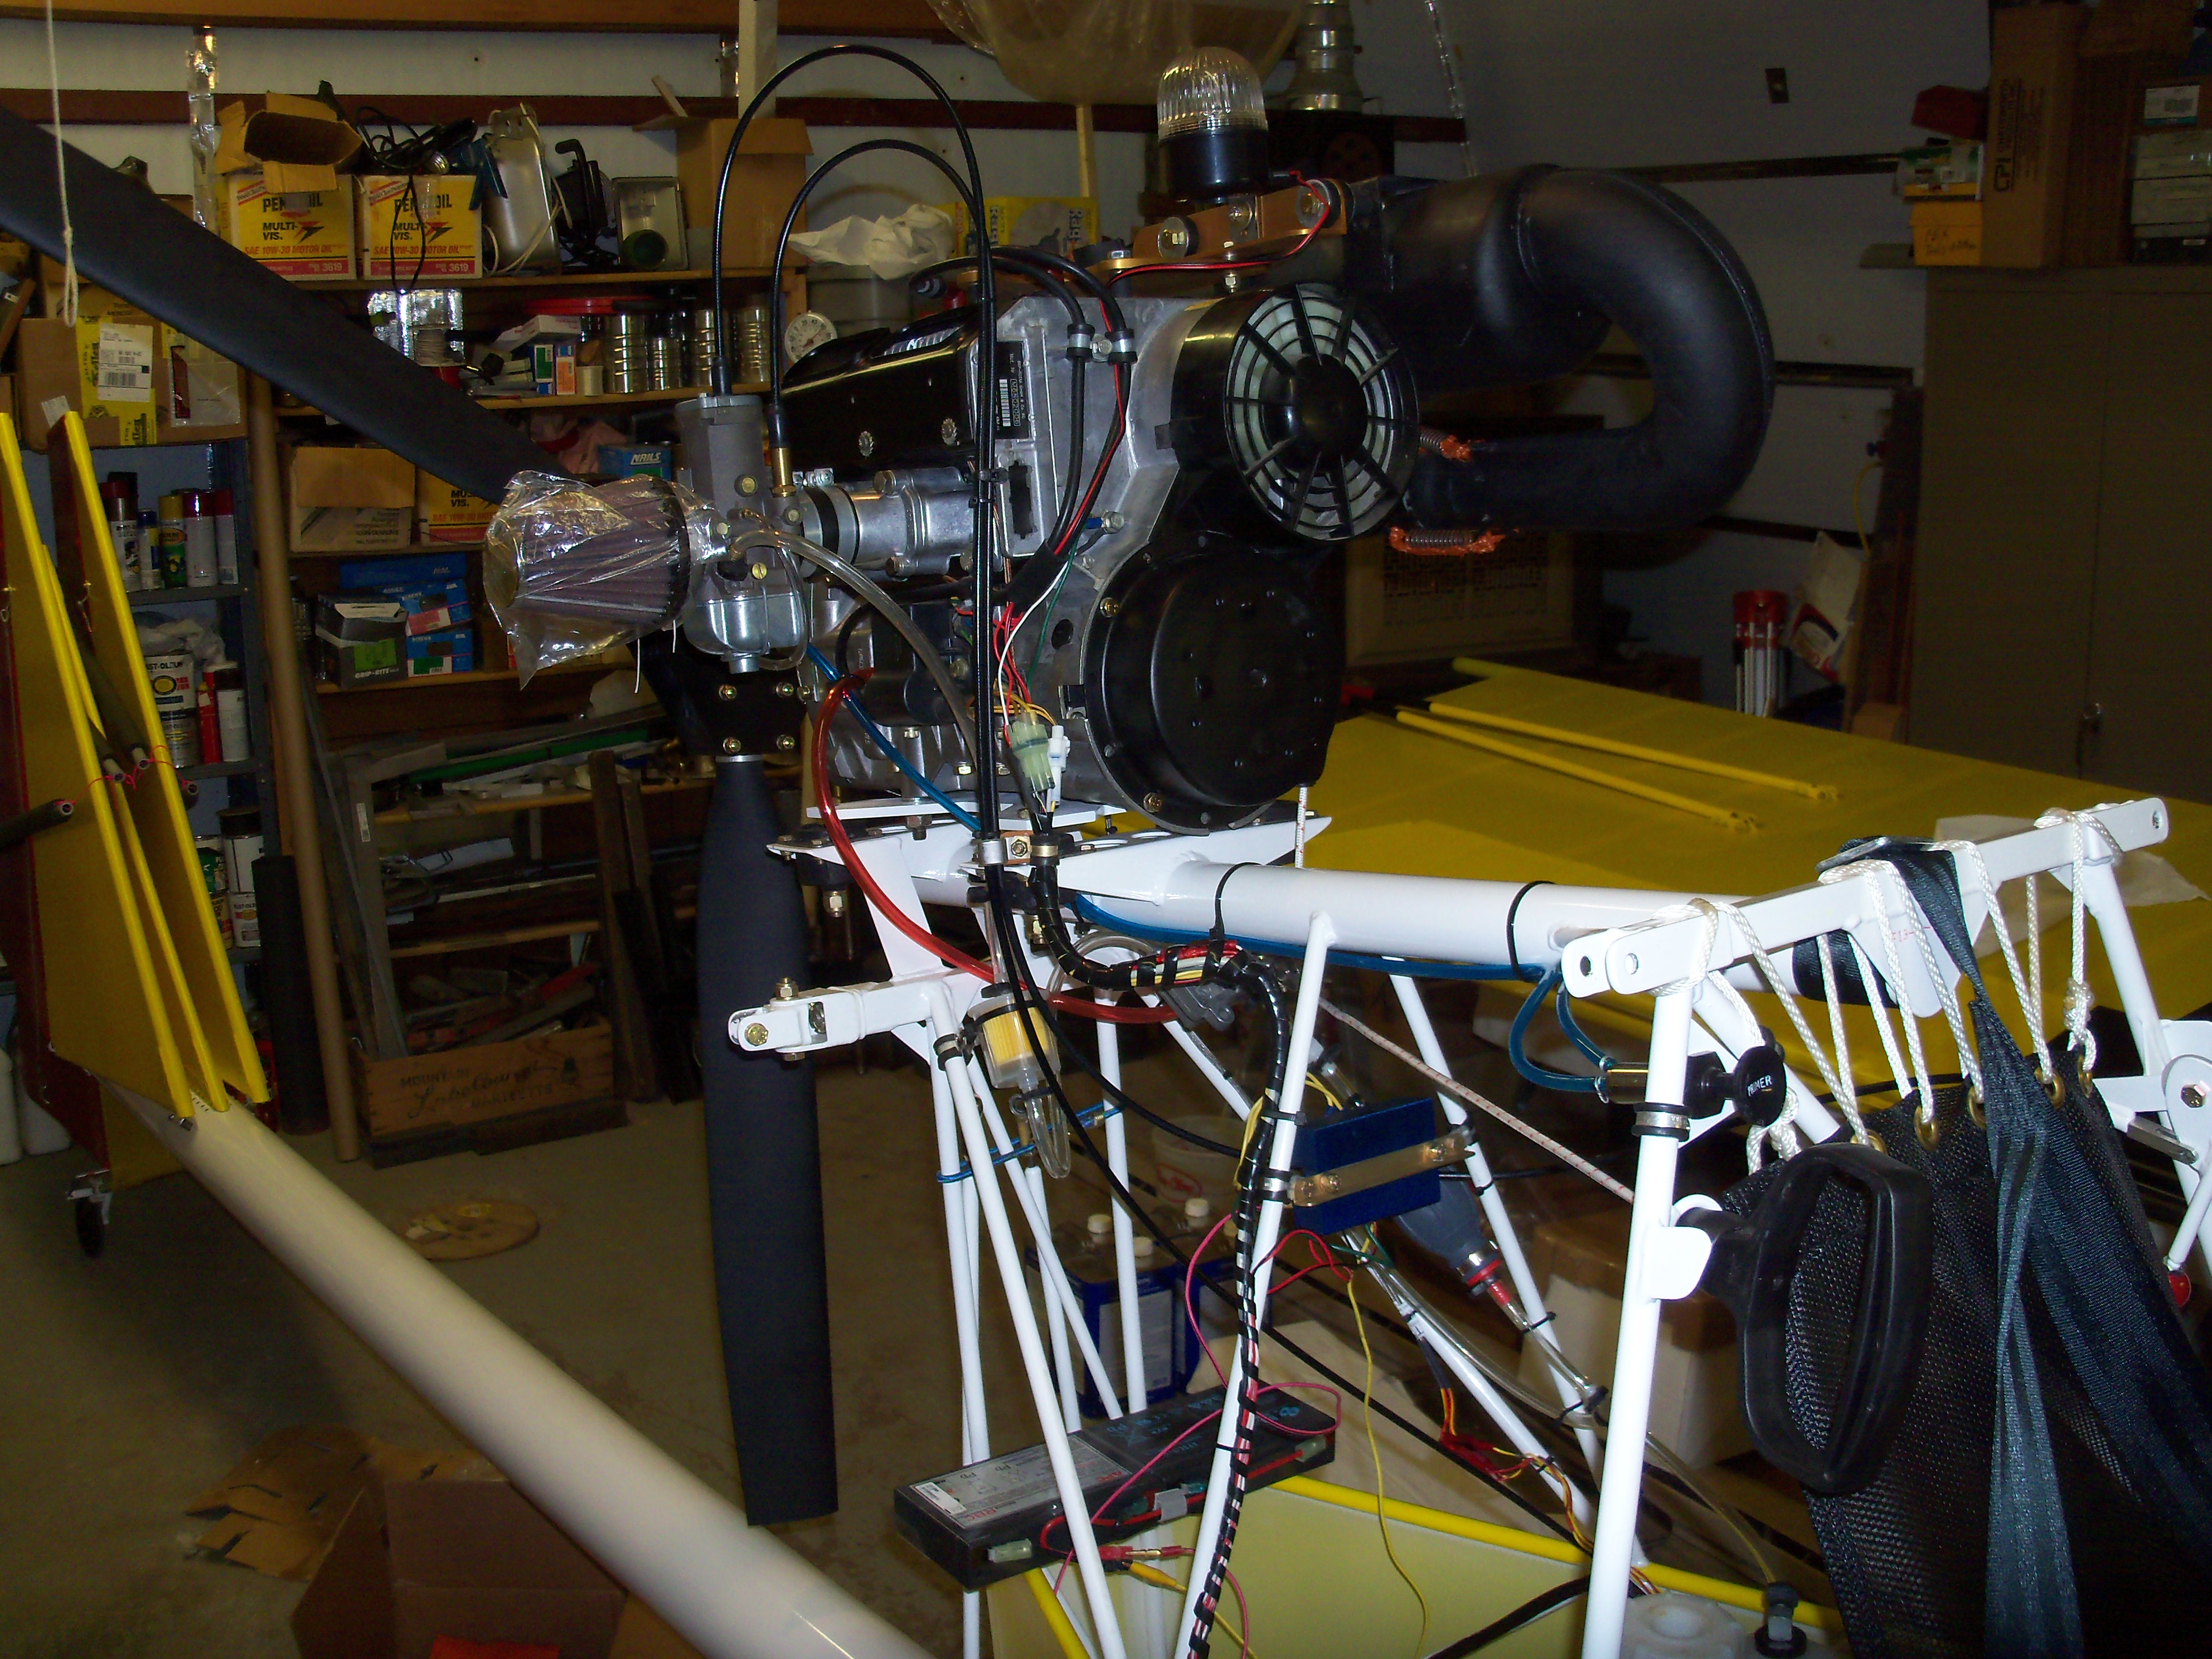
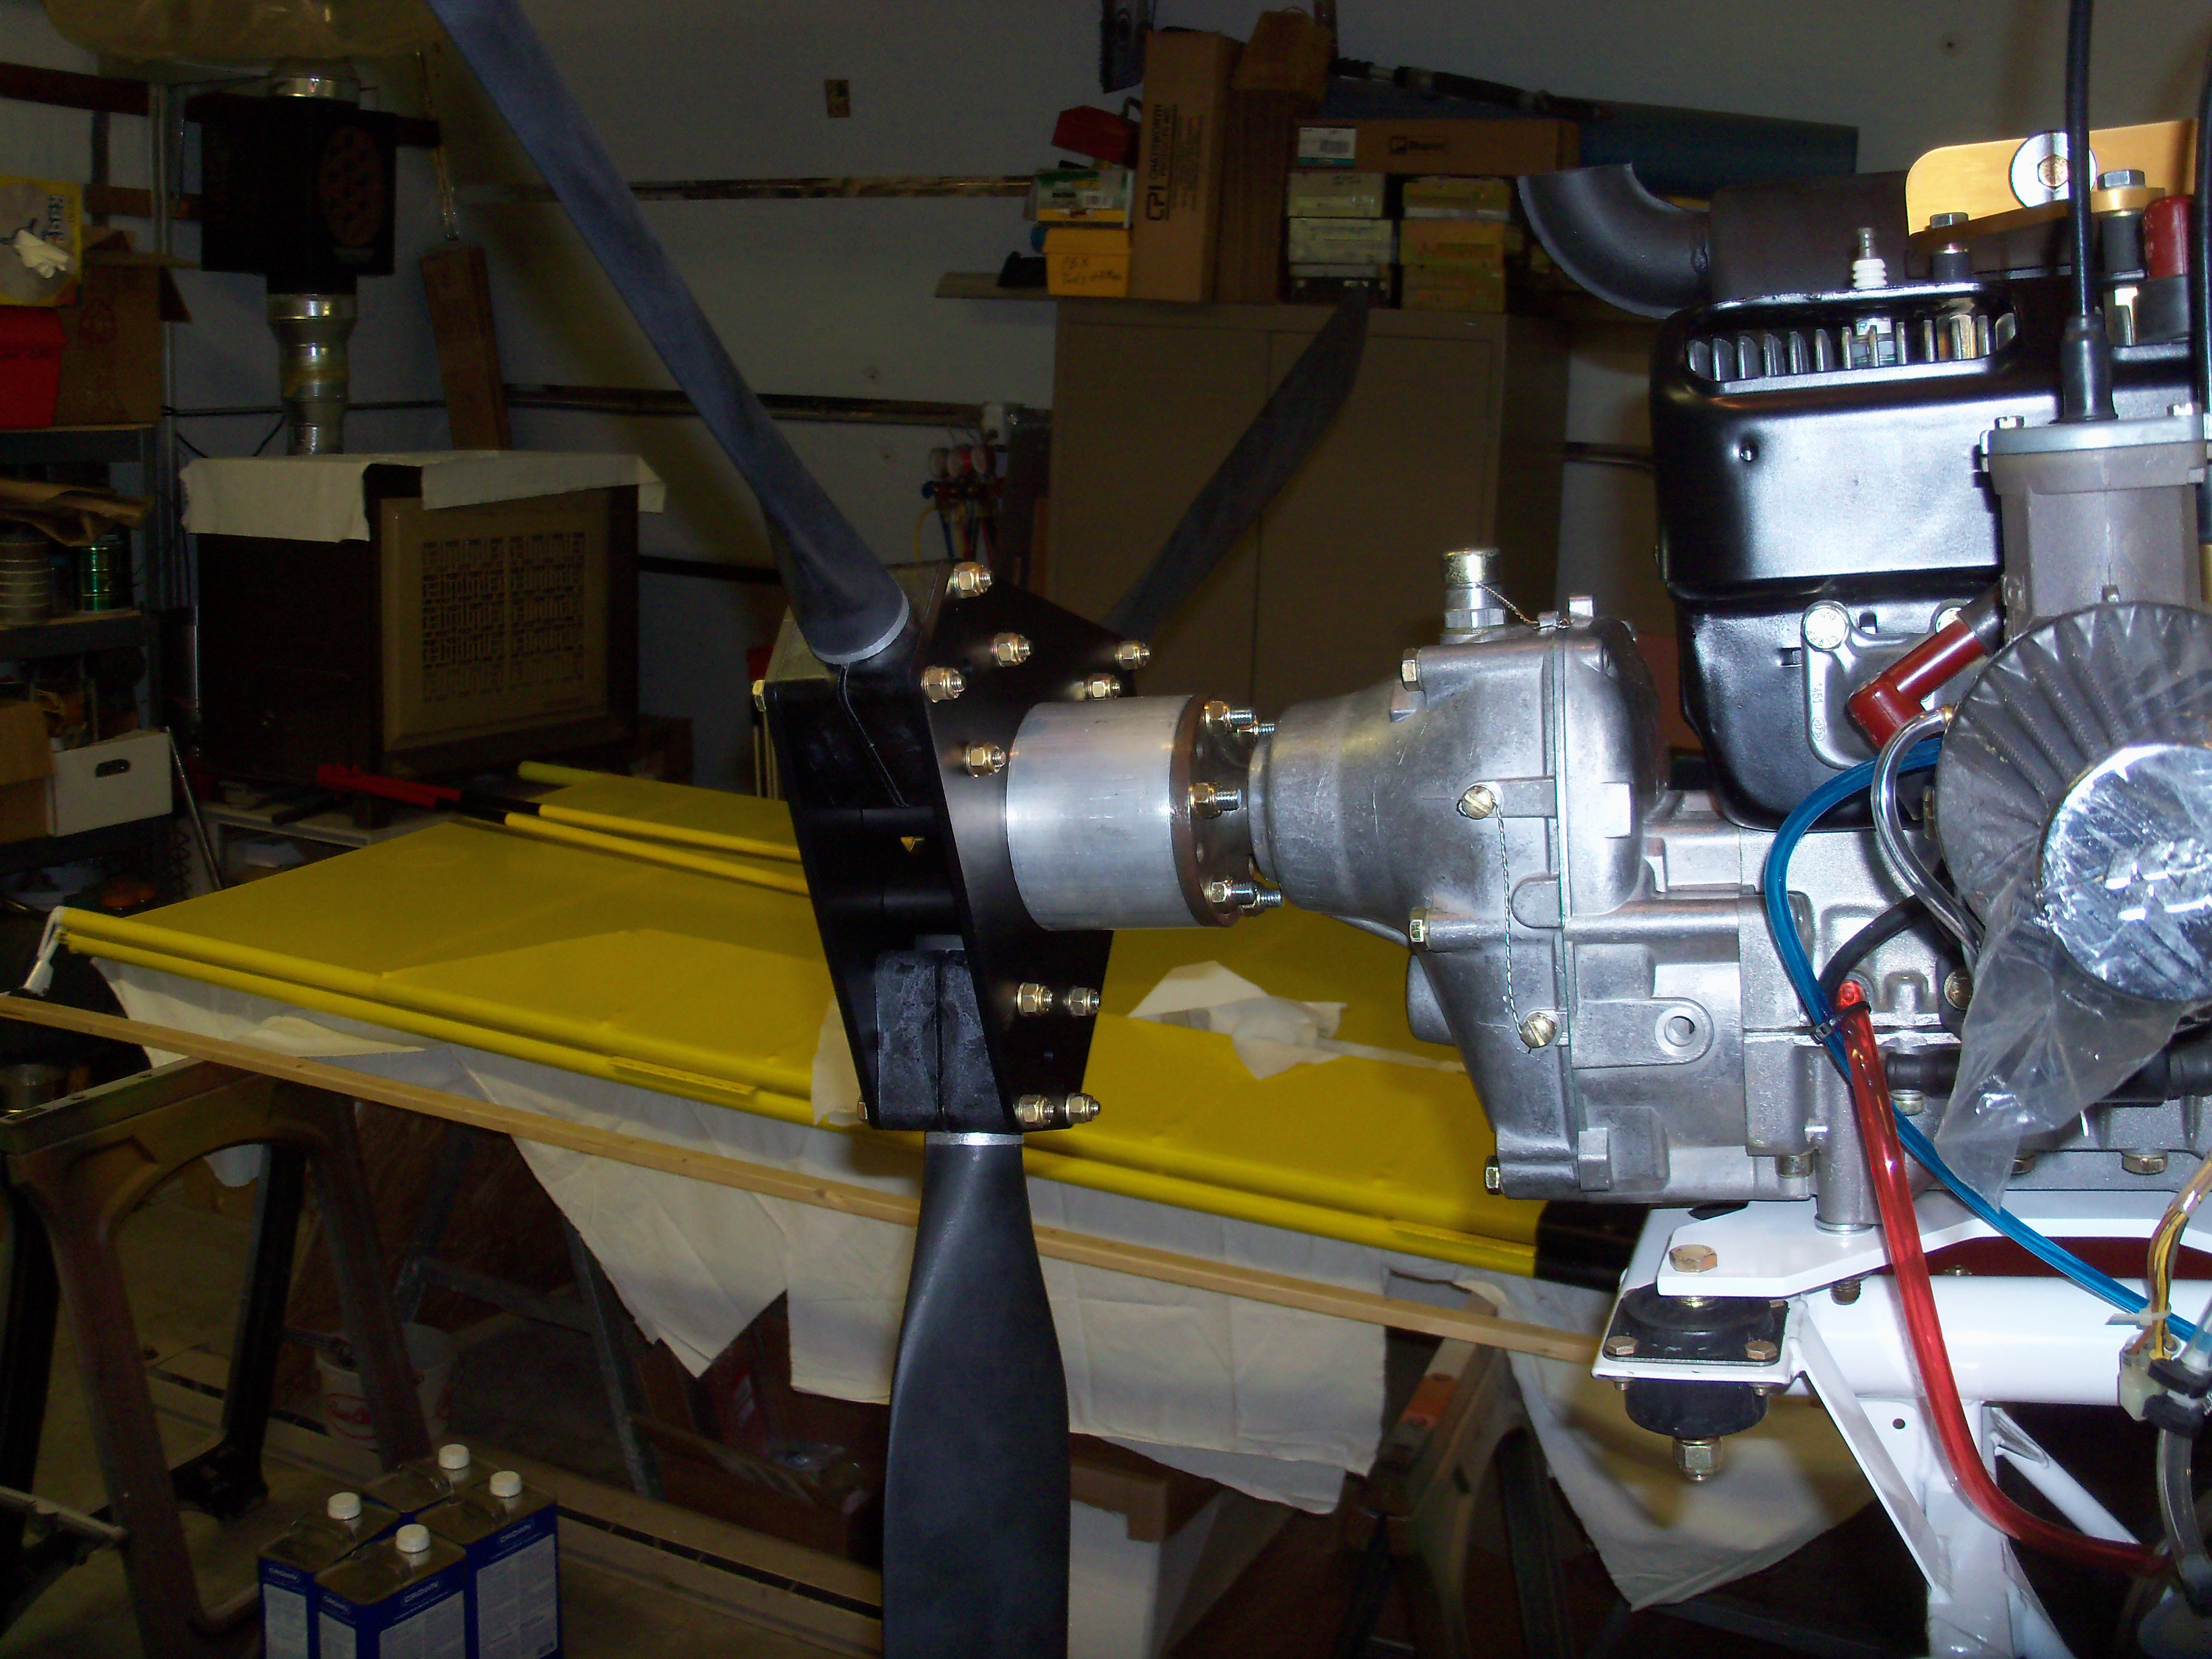
However, while discussing engines on the Matronics Kolb List, a fellow member came forward and offered a slightly used (14 hours TT) engine at a very reasonable price. It arrived looking all the world like a brand new engine.

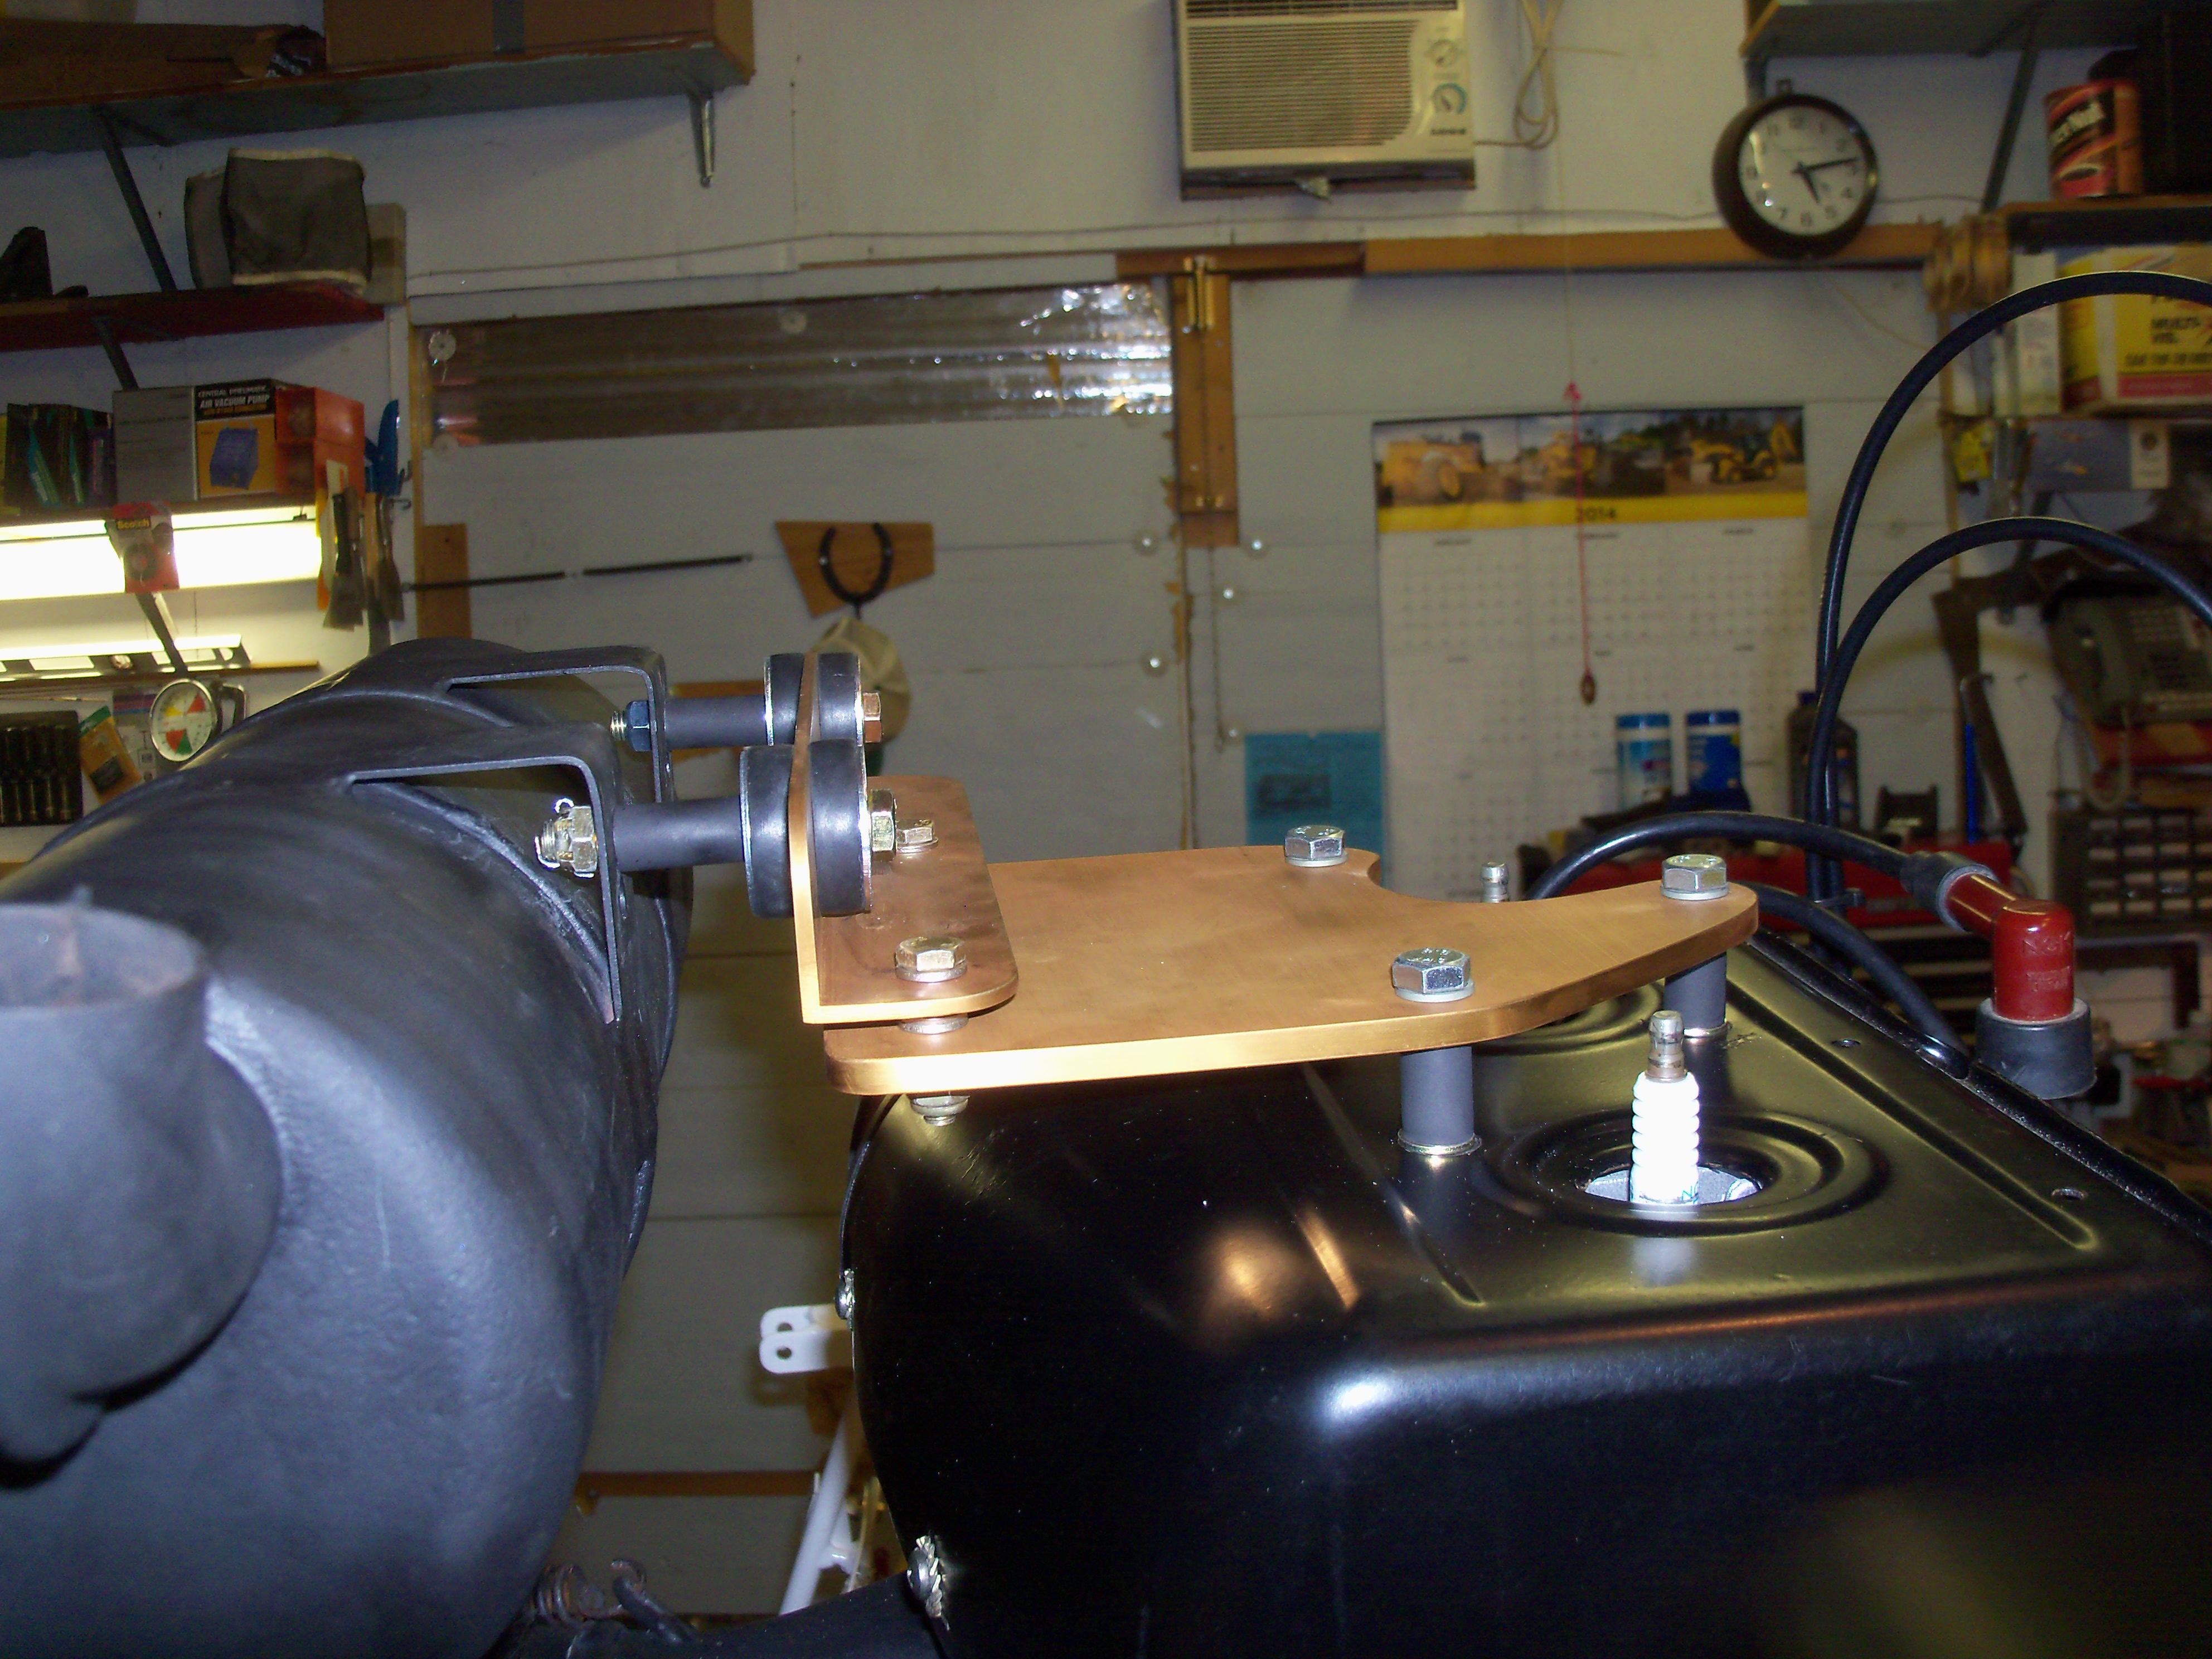
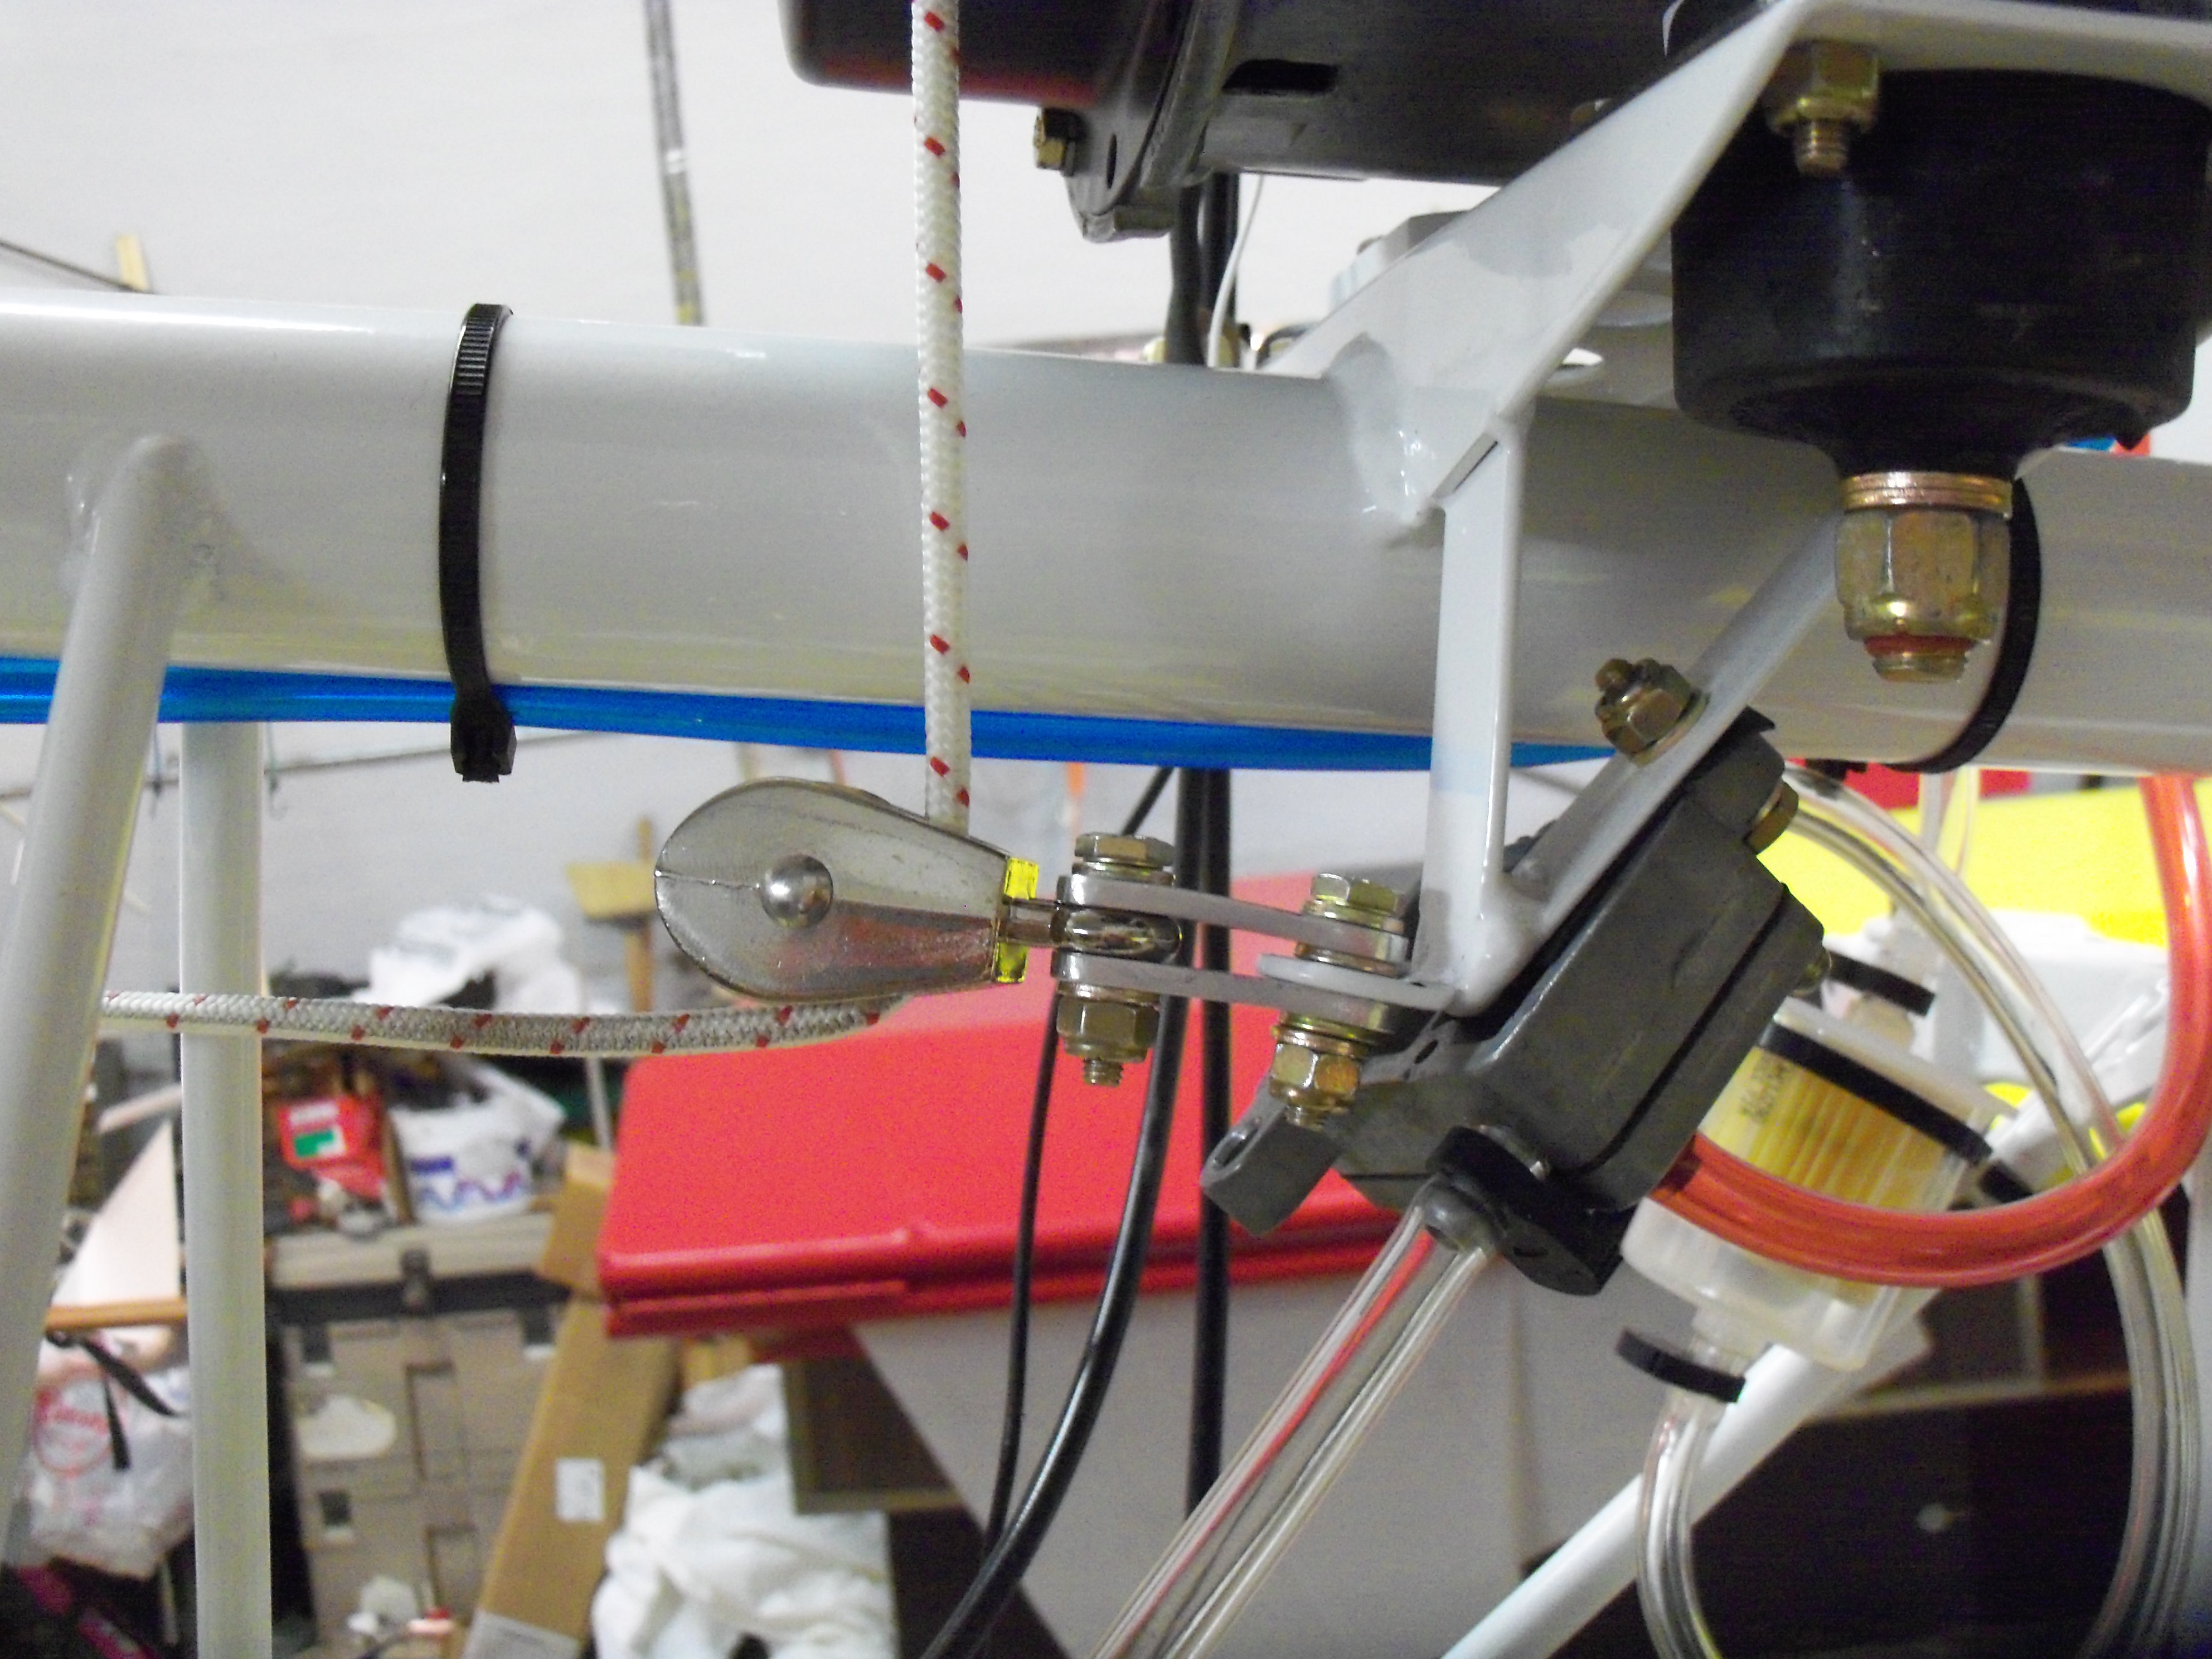
The engine mounts and plate were obtained from Kolb. I alodined the plate and painted it with epoxy primer so it would match the white of the fuselage. It is my belief that white will show flaws and cracks more easily than other colors.

 image


Engine and Parts

Here the fuel pump and lines are installed as well as the control cables. The prop is test fitted without the spacer.

I opted for the additional primer. I saw one mounted kind of like this somewhere and borrowed the idea. A small plate was made from aluminum and mounted to the tubing with clamps. Being able to prime a cold engine sure makes starting easier.

 image

Exhaust

This was a used exhaust system that came from a different configuration. The loops for the springs were not perfectly lined up for my setup. This caused some difficulty, but I think it will work out OK.

Since it was used there was some slight rusting and the paint was lacking, although the metal was in very good shape. One trip through the sand blaster cleaned it up quite nicely.

I painted it with high temperature motorcycle exhaust paint. The paint was baked on in the gas grill.

Only time will tell how good this paint is, but the price was right.

 image

Muffler Mount

The original plans called for making a muffler mount out of aluminum angle. However, Kolb now offers a better solution which is much easier to install. This flat plate came from the Kolb factory cut to shape and with the holes for mounting to the head pre-drilled.

Since this was a used system, I had to engineer how to get it connected to the plate. Once I realized that some spacers would make it line up, it turned out to be quite simple. Spacers were made the same way as the ones used to mount the plate to the engine.

Off-the-shelf rubber cushions and castellated nuts with cotter keys make it heat proof.

 image


Starter Pulley

After turning the recoil starter to point down, it was easy to manufacture some plates to mount the pulley to the fuselage.

The rope was already long enough, so all I had to do is untie the knot and put the handle in the proper place.


 image

Engine Control Cables

There were cables on the used engine, but the enricher cable was damaged and the throttle cable was too short. So, I cut the throttle cable off and made it the enricher cable. There was no clevis for attachment to the lever.

Checking with online order shops, I could not purchase what I needed, so I made this out of a chunk of aluminum I had sitting on the shelf.

This uses a ferrule soldered on the end of this end of the cable, just like the one on the enricher end.

 image


Enricher Lever

Here is the clevis connected to the lever.

Adjustment is made at the carburetor end.

 image


Throttle Cable

This one proved to be a little more complicated. But it was still easier to order the components to make a cable to fit. The hardest part was figuring out how to make an end so that the lever and the guide would align.

This one took a couple of prototypes before I got it right. Again, there is just a ferrule soldered on the end of the cable and adjustment is done at the carburetor

 image


Throttle Stop

The plans call for a stop to prevent excessive pressure on the cable when the carburetor slide is all the way up.

This design is quite simple, easy to make and adjustable by moving the clamp.

 image

Spark Plug Security

I saw a really clever way to secure the spark plug wires with a carbon fiber rod and some o-rings, but that was on the older style muffler mount.

This is just a flat piece of fiberglass painted black.

A heat gun was used to soften the resin enough to form the tabs that bend down. This keeps the hold down locked in place during use. To get the wires off, you flex one of the tabs and rotate the hold down 90 degrees. Simple and no parts to loose.

The strobe was kind of an afterthought. Wired to the engine electrical output, it is always on when running.

 image

Carb Varnish

The engine smelled of varnish when I got it, so I decided to just put a carb kit in it just to be sure.

This is what I found inside. Sticky and gooey.

The floats were fine and everything else cleaned up easily enough.

I put the whole carb kit in anyway; cheap insurance.

 image


Home Made Carb Cleaner

I discovered that my can of carb cleaner had all evaporated when I went to use it. Of course it was after hours for all the automotive stores in town.

I dug around on my chemical shelf and mixed my own using MEK, Toluene, Acetone, Mineral Spirits, and Denatured Alcohol.

This picture was taken 60 seconds after dropping the varnish coated parts into the mix.

 image


Engine Wiring

Since I needed power to run the engine instruments, I had to install a voltage regulator.

All the wiring is installed and ready to go.

There is a 12 volt battery laying loose on the back of the fuselage. It is jumpered to the power output of the voltage regulator so it would power up the engine instruments and strobe light for testing.

 image


Prop Spacer

Kolb recommends an Ivo prop and a spacer. I went with a Warp Drive prop which is stiffer and "probably" would not have flexed enough to hit the wing.

BUT, why risk it? Research shows that more clearance between the wing and the prop is not only good for the wing; it is a lot quieter.

Here the prop is mounted and set up at an initial 13 degrees of pitch.


Serenity Home HarnerFarm.net